WordPress
How to run WordPress with LiteSpeed Web Server on the Virtuozzo Platform with GUI
Requirement
You may need to prepare a Virtuozzo partner account first.
Quic Start
Step 1.
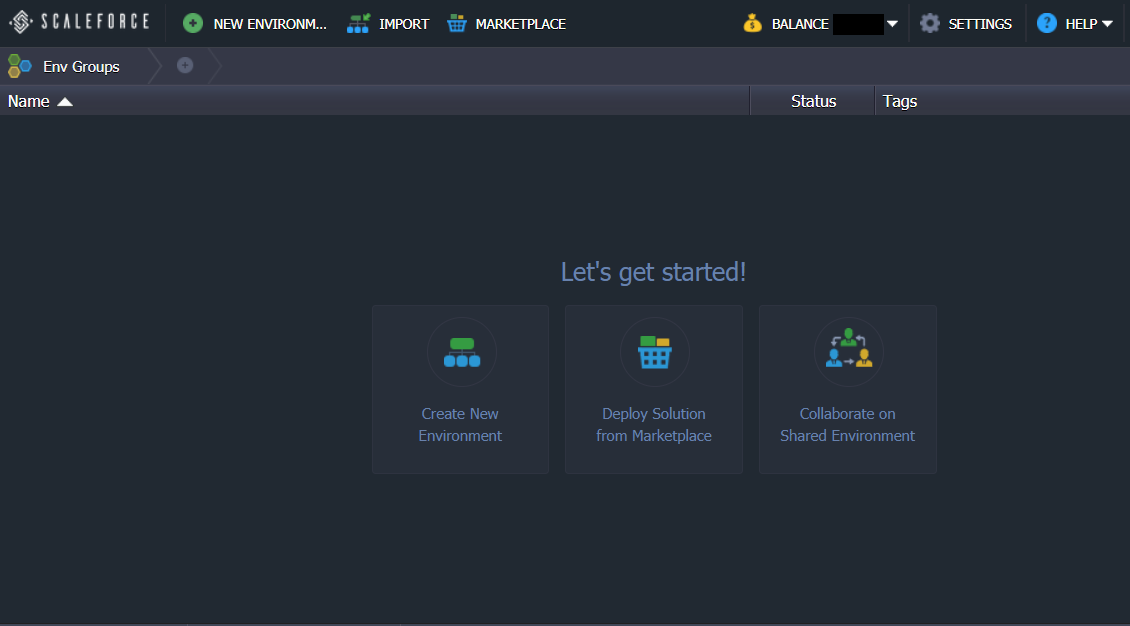
Log into your dashboard at http://app.{host_domain}/. In this example, we will use https://app.j.scaleforce.net/
Step 2.
Click New Environment in the upper left corner of the dashboard. The Topology Wizard will be opened, where you can fully customize your environment settings.
Choose LiteSpeed as Web Server from the drop down list.
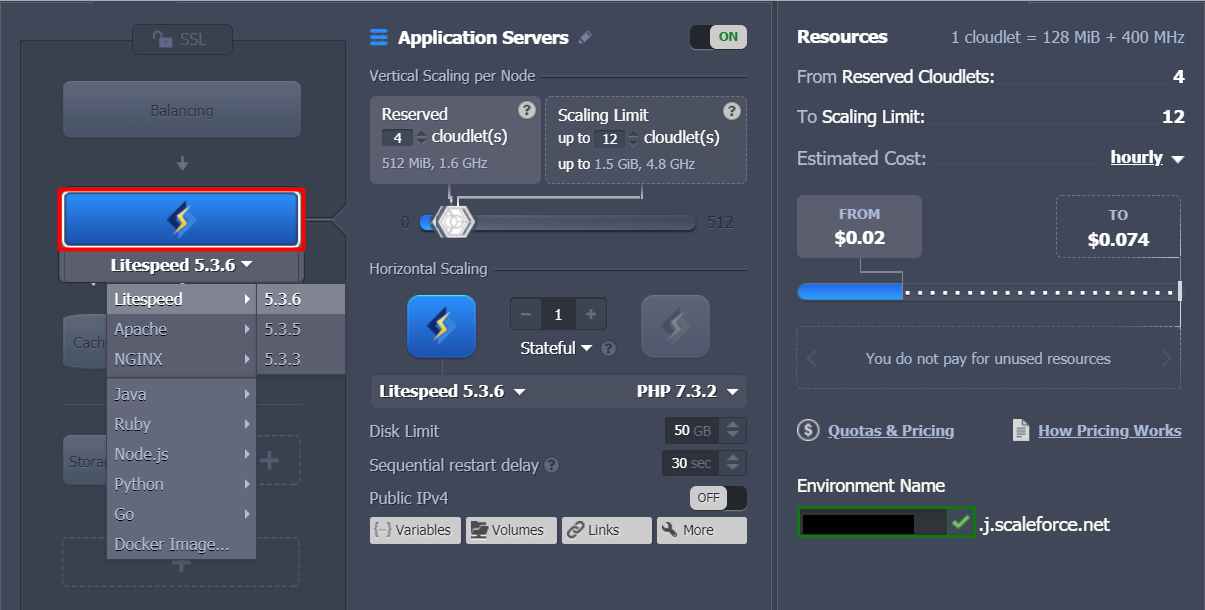
Choose any SQL application you like, in this case we will use MariaDB directly.
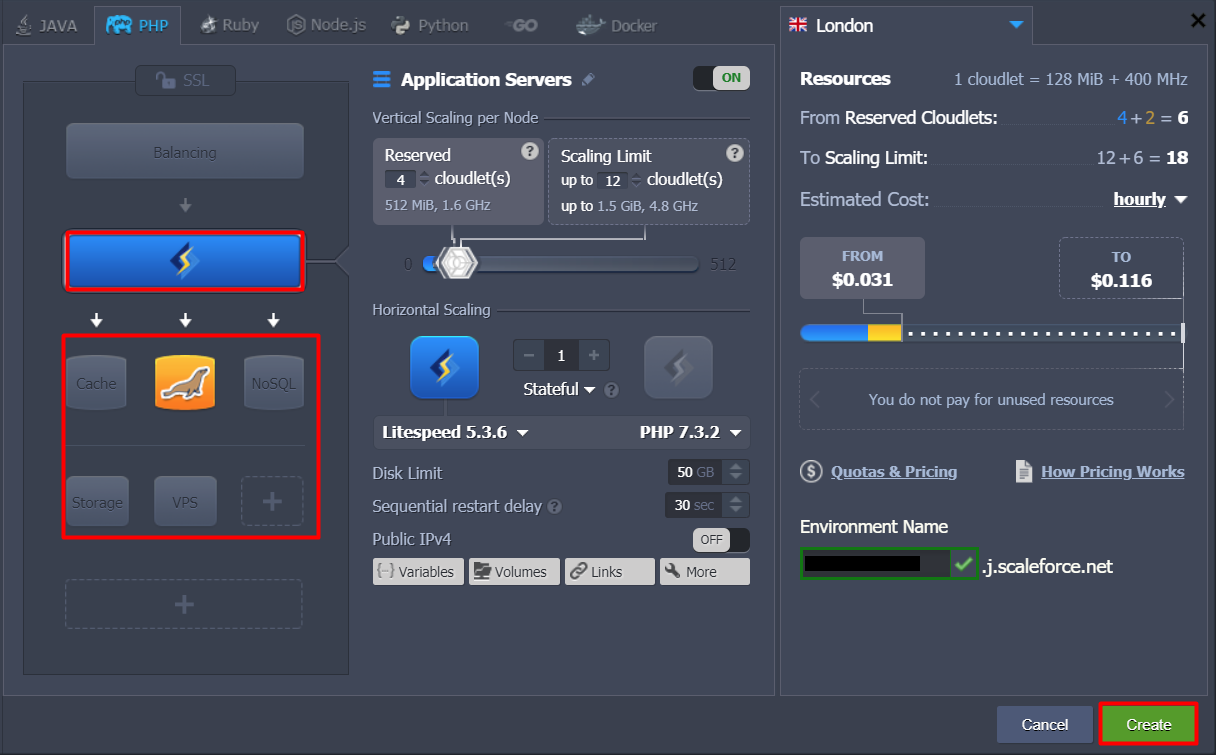
After finishing the configuration, enter your Environment Name and click the Create button.
All of your environment information will be listed in the upper pane of the admin panel, and you should receive an email from Virtuozzo with server and MySQL access information.
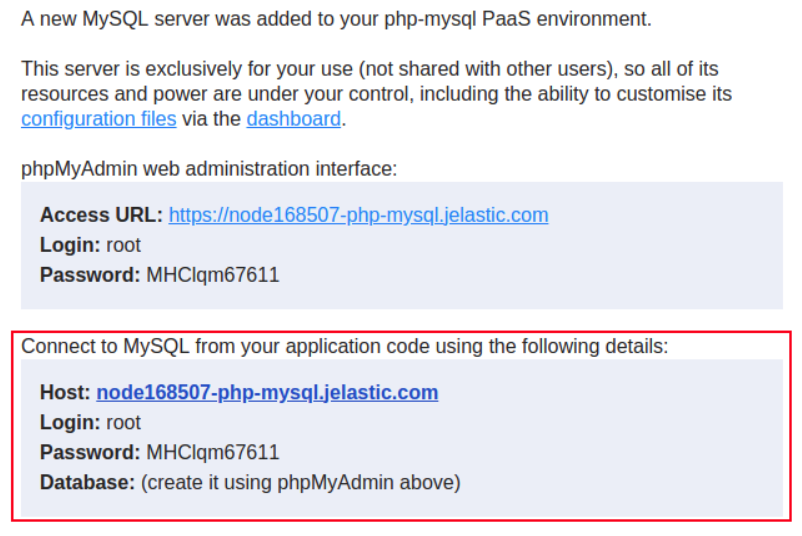
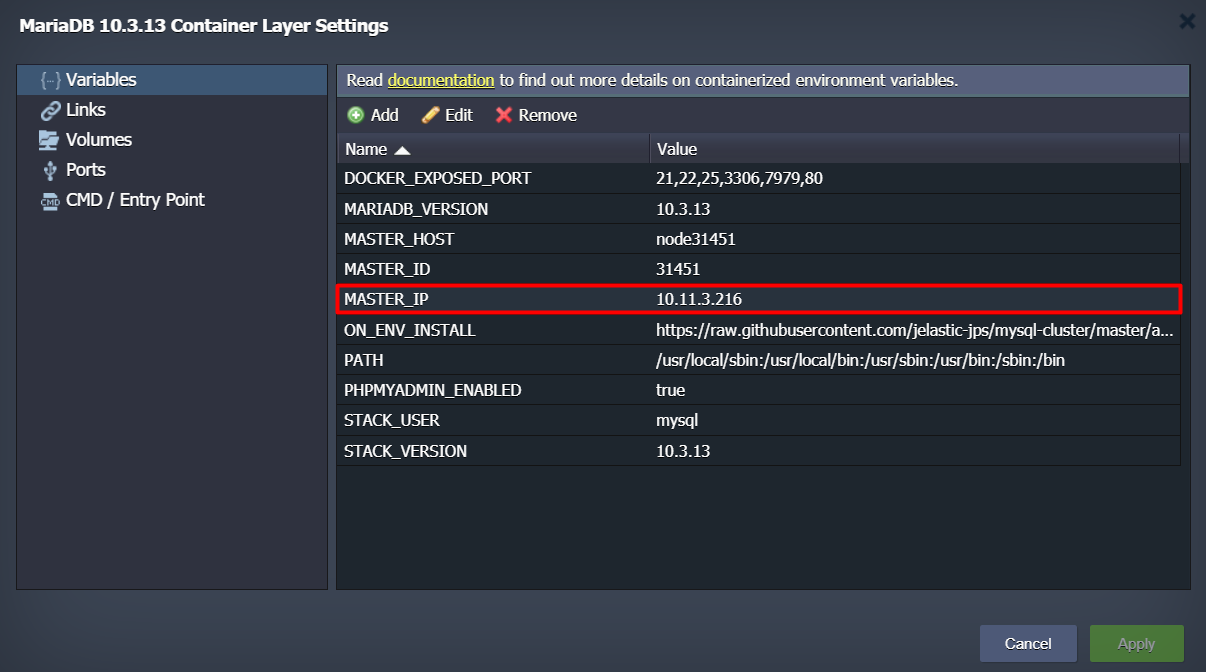
Check SQL Databases IP via MySQL > Config > Variables.
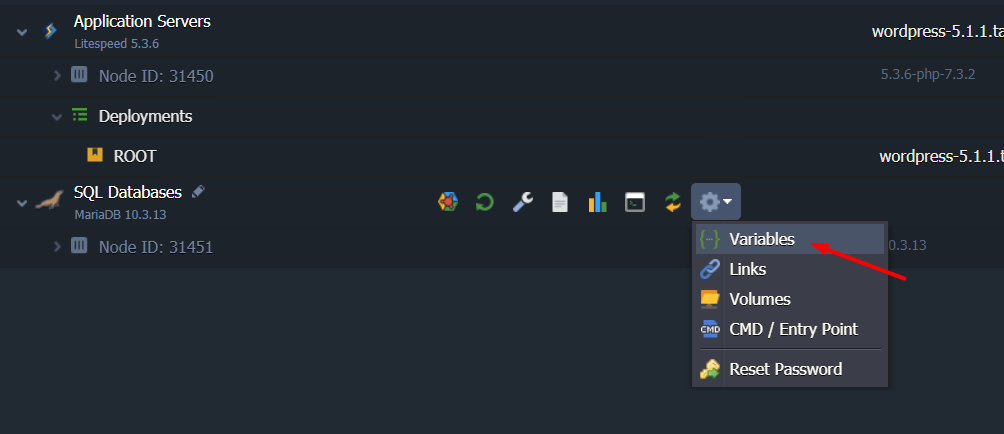
You will need to input this IP address when installing WordPress.
Step 3.
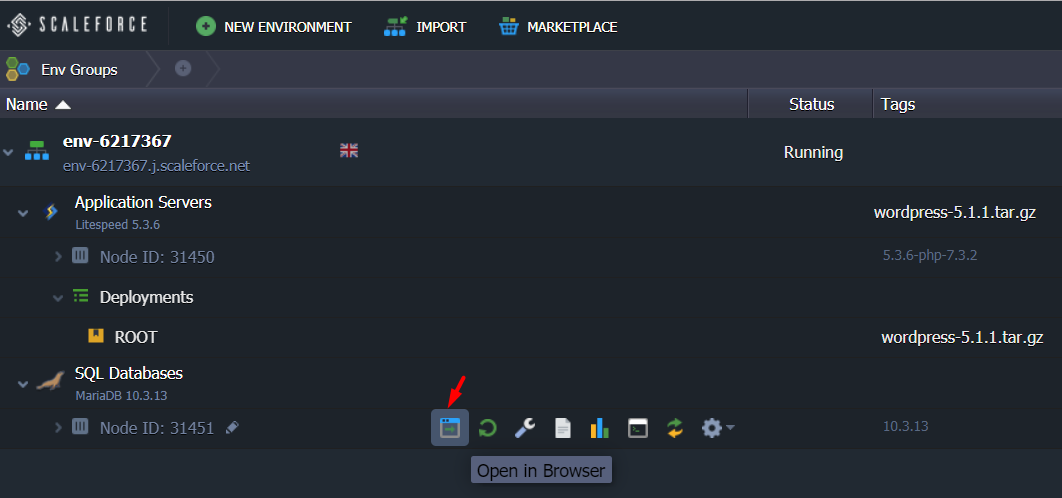
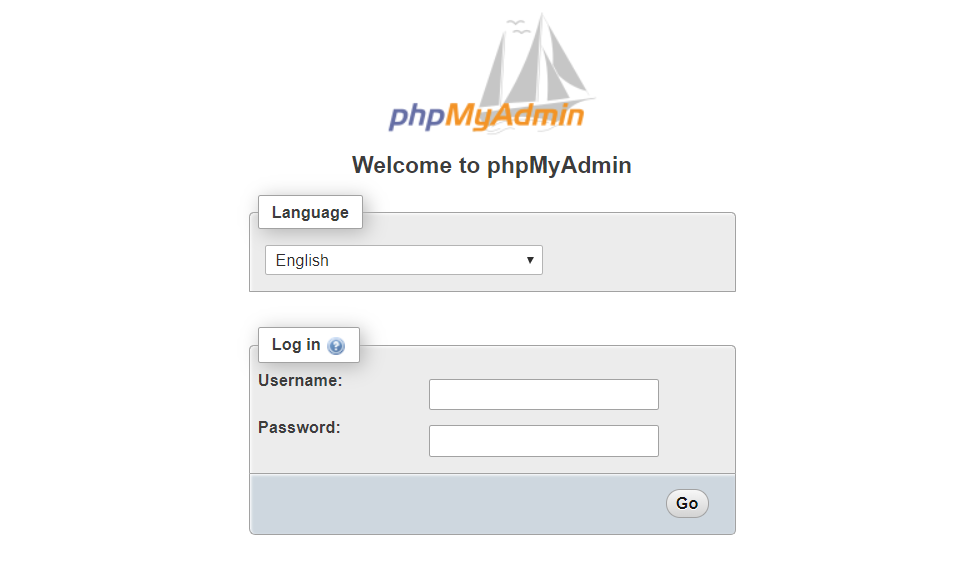
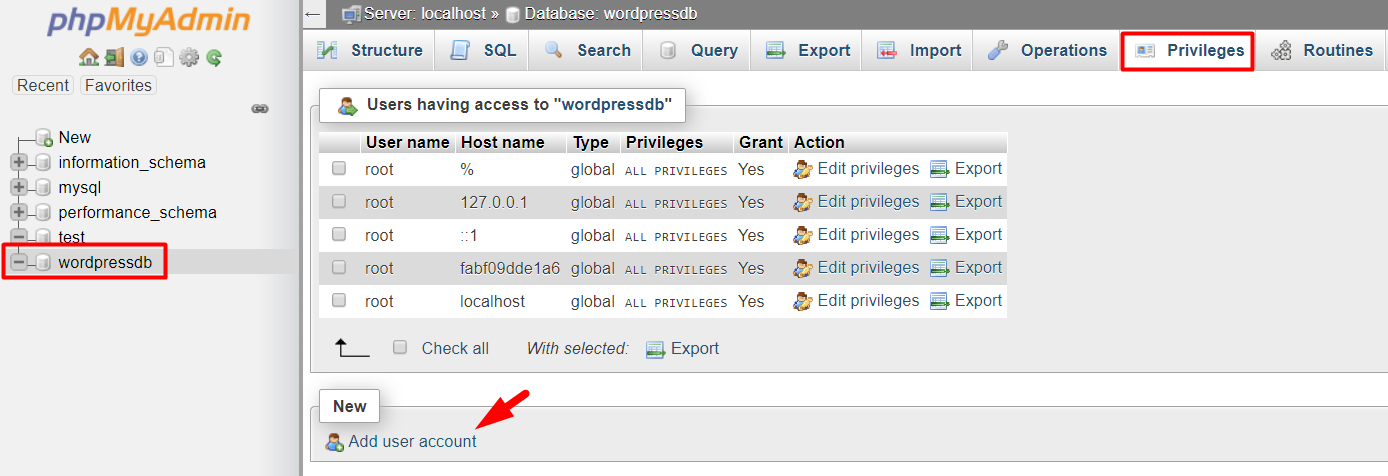
Open phpMyAdmin on the web, and create a database, user and password for the WordPress installation.
Use the password you received from Virtuozzo to access MySQL via phpMyAdmin.
Cick the Databases tab, input the database name, and click the Create button.

Click on the newly created database. Click the Add user account button under the Privileges tab.
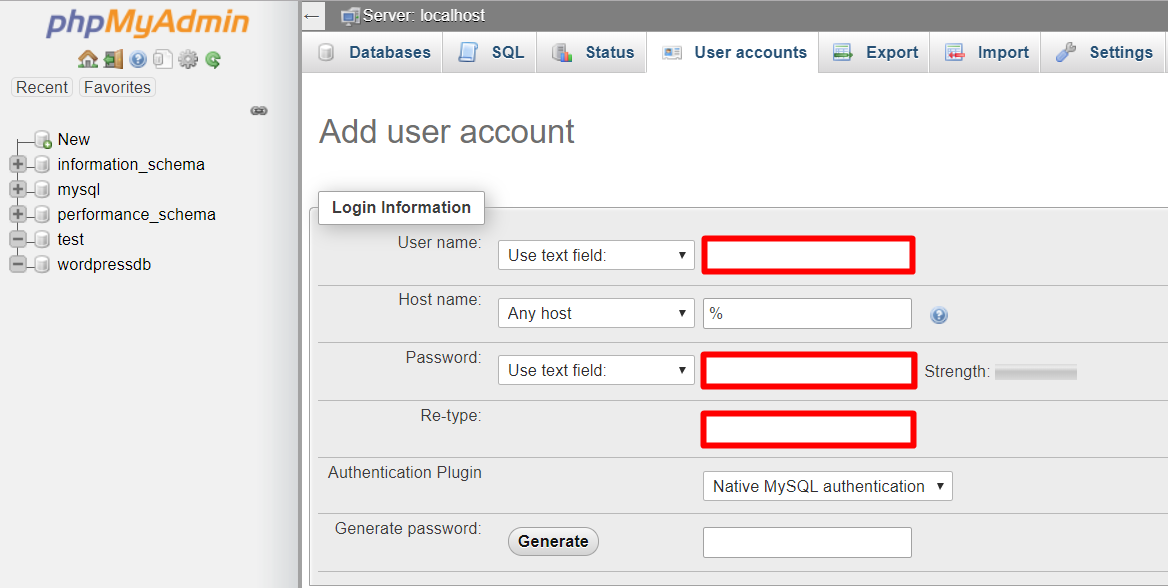
Enter the WordPress user information.
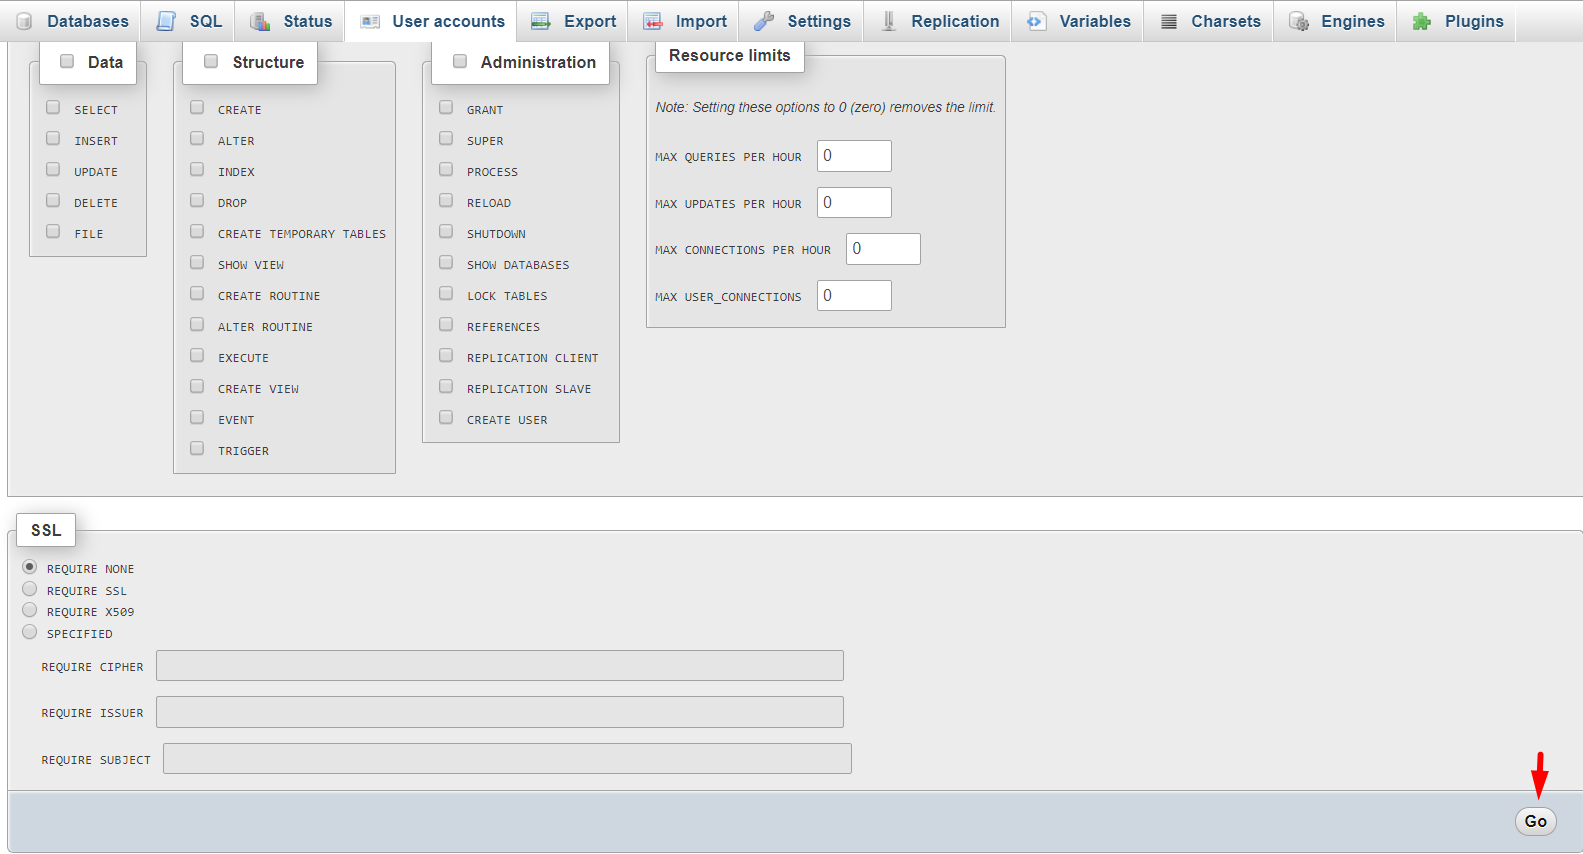
You can leave everything else as it is. Just click the Go button to create the user.
Step 4.
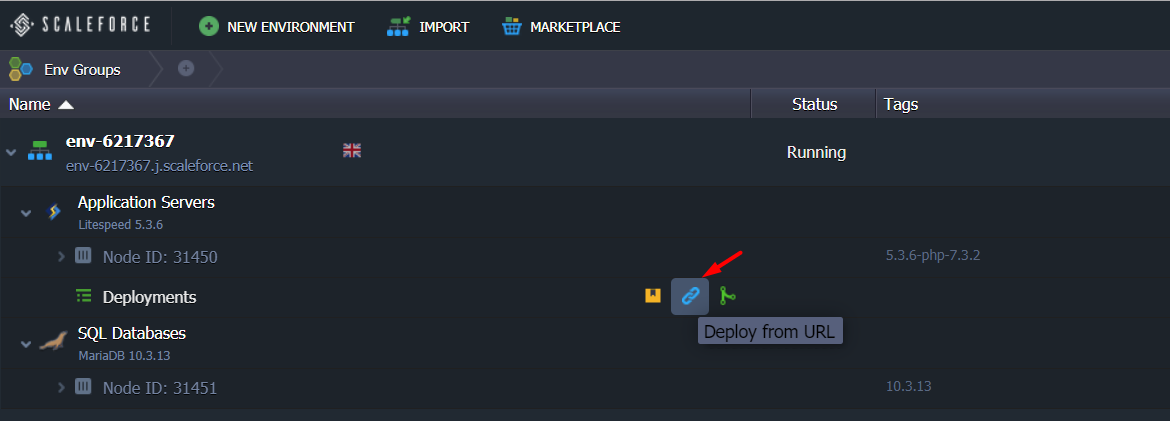
Install the latest WordPress version on the document root, like so:
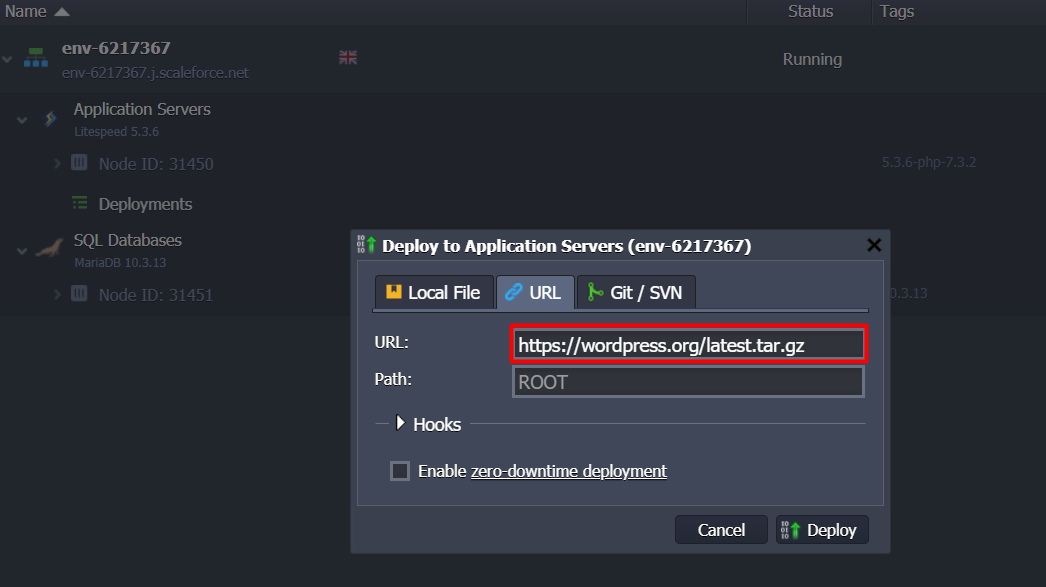
Click the Deploy from URL button in the LiteSpeed Application's node.
Enter the latest WordPress version download link in the URL field, and click the Deploy button.
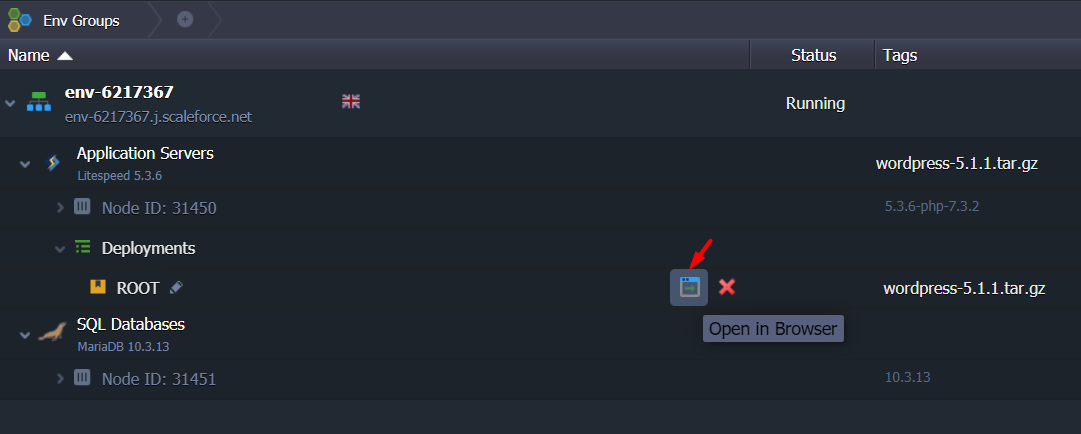
To finish the WordPress installation via a new browser tab, click the Open in Browser icon under Node > Deployments > ROOT.
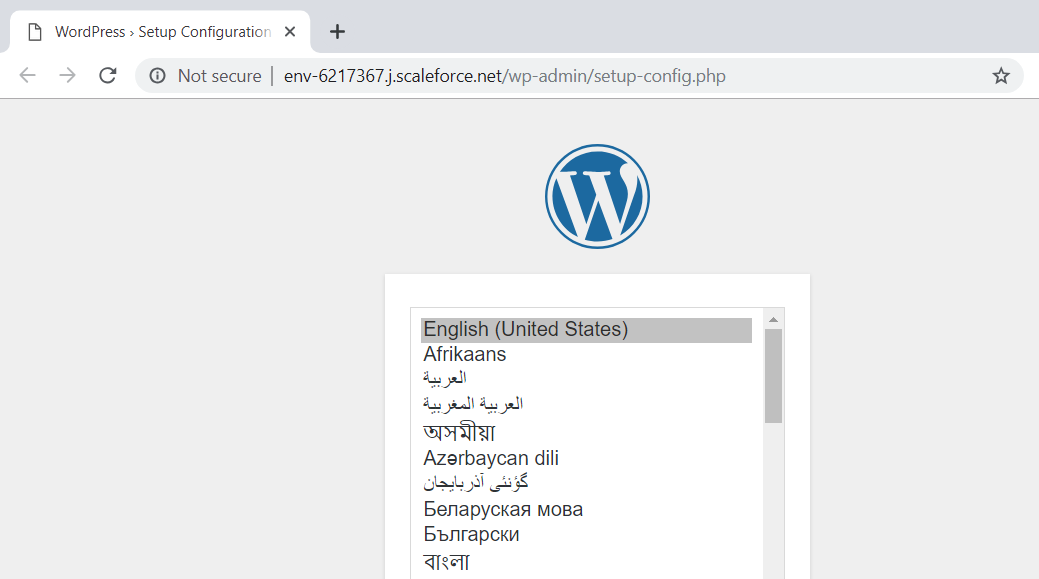
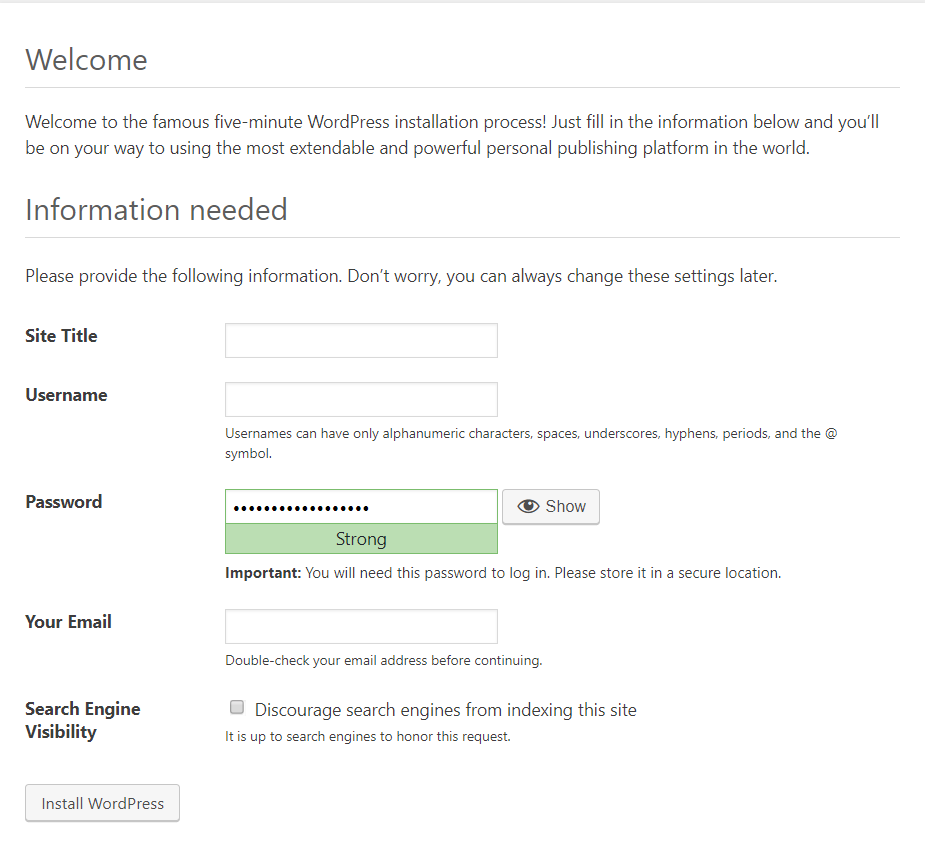
Start the WordPress installation.
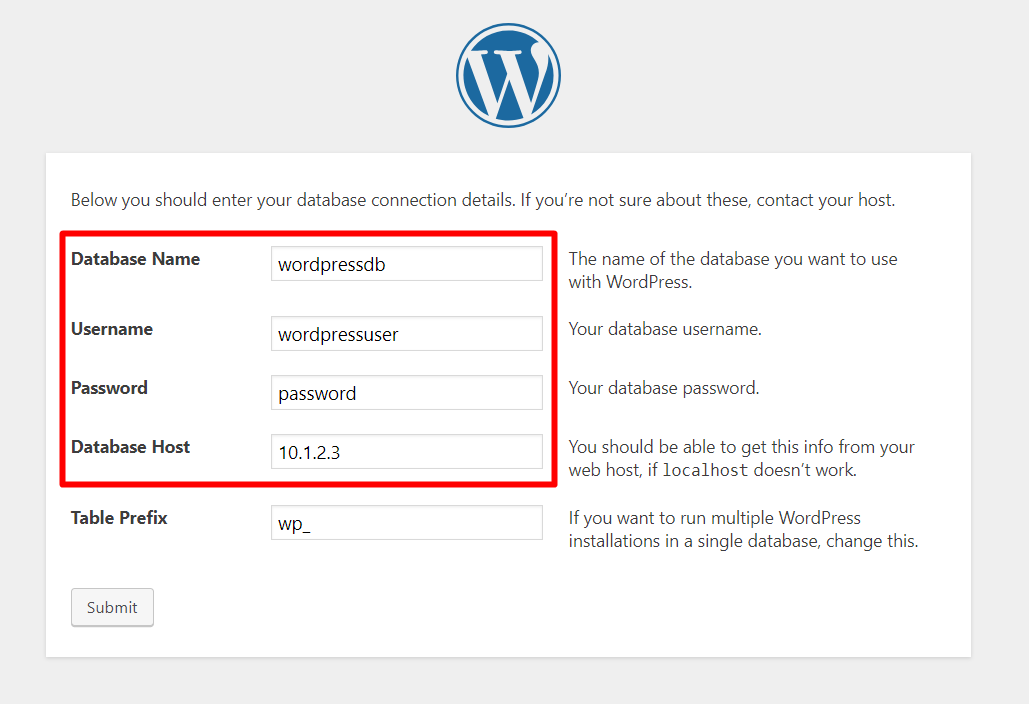
Input the Database Name and user information for the user you created earlier. Input the MariaDB application's IP as Database Host.
Lastly, register your WordPress login account information.
Step 5.
This step is only necessary if you have migrated a WordPress installation or it's a fresh WordPress installation.
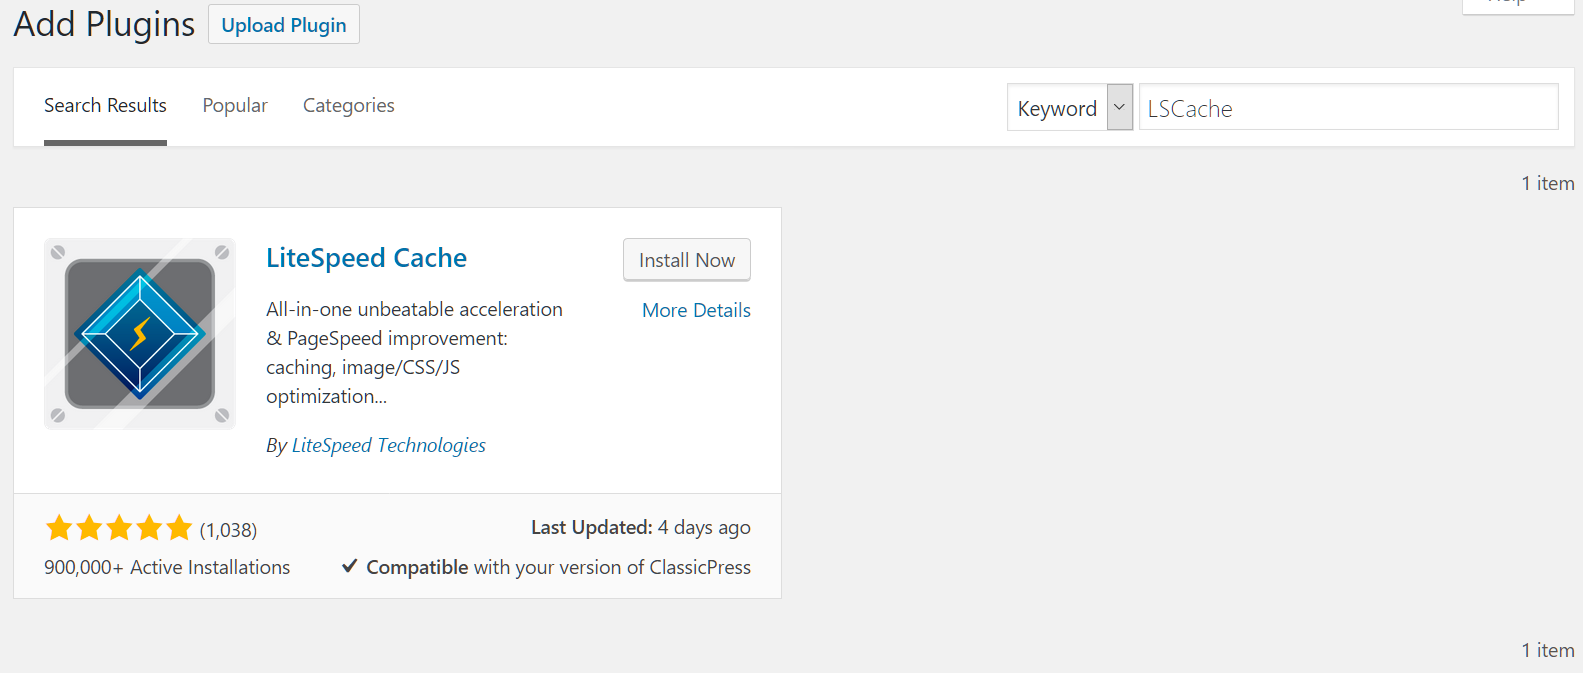
To benefit from high performance and a nice page score, don't forget to install the LSCache Plugin