Django
The OpenLiteSpeed Django One-Click app automatically installs performance web server OpenLiteSpeed, and Django. This image tends to be up to 2.5 times faster than Django on Nginx with Gunicorn! Developers can update files directly without using the built-in development server. OpenLiteSpeed features easy setup for SSL and RewriteRules. OLS is flexible and also supports Node.js and Ruby apps, as well as CMSs like WordPress.
Quick Start
Step 1.
Choose the platform that you are using, and follow the steps to launch the image/stackscript.
Use the "OpenLiteSpeed Django 1-Click app" to create a Droplet with any plan you want. Click here to create an account and get a $100 Digital Ocean credit.
Use the "OpenLiteSpeed Django app" to create a server with any plan you want. Click here to create an account and get a $100 Vultr credit.
Use the "Deploy OpenLiteSpeed Django" to create a server with any plan you want. Click here to create an account
Login to the Google Cloud Platform and click Launch a VM instance on Compute Engine. 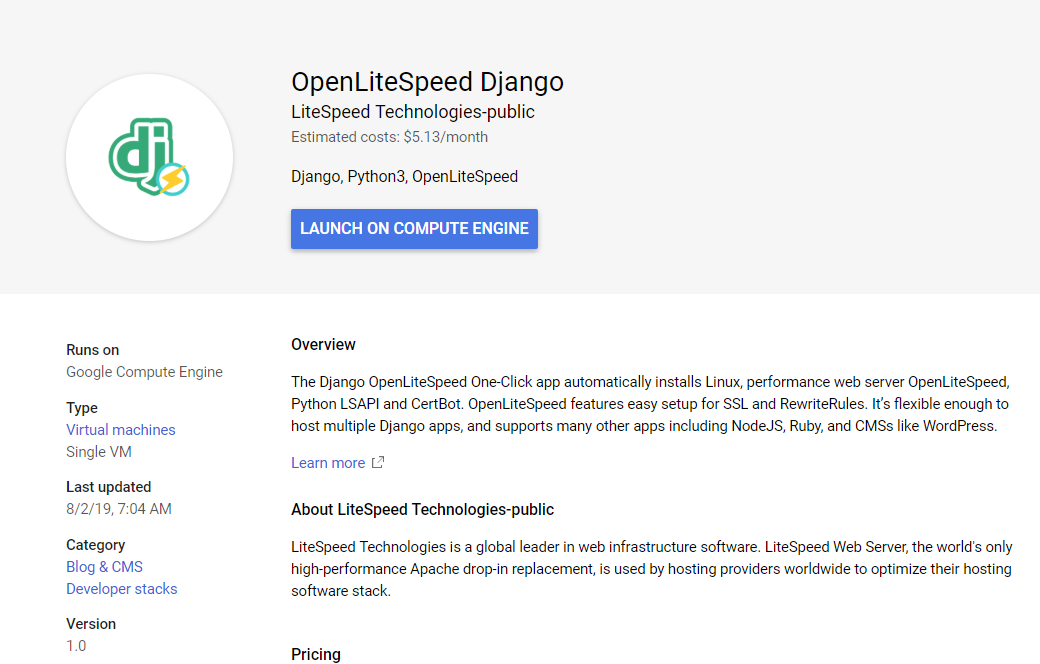
Method 1. Through Subscribe
- Subscribe to Django
- Click Continue to Launch and Launch
Method 2. Through EC2 console
- Open the Amazon EC2 console
- Locate the product by searching for "Django With OpenLiteSpeed" from AWS Marketplace
- Click Select,Continue,Preview and launch (the default is the most recent version)
- Log into the Azure Portal and click Image Link.
- Click the GET IT NOW and Create buttons
- Choose any server plan you'd like to use, and create the server
Use the "OpenLiteSpeed Django" from Marketplace to create an ECS instance with any plan you want.
- Log into hPanel
- Navigate to the Operating System page from the sidebar
- On the Change Your Operating System section, select OS with Control Panel and choose the Django/OpenLiteSpeed template.
Step 2.
From a terminal on your local computer, connect to the server as root, like so:
ssh root@192.0.2.0
ssh username@192.0.2.0
Find your username at Google Cloud Platform > Project > Compute Engine > Metadata > SSH Keys > Username.
ssh ubuntu@192.0.2.0
ssh azureuser@192.0.2.0
Be sure to substitute the server’s public IP address for 192.0.2.0. You can also use Cloud Console if the platform is supported.
Step 3.
An interactive script that runs will prompt you for your domain or subdomain:
Please input a valid domain:
Please verify it is correct. [y/N]
Enter your root domain only. The system will automatically add the www subdomain as well.
Note
You can press CTRL+C and continue to SSH, but the prompt will open again the next time you log in. It will continue to do so until you finish the whole setup.
If your domain is already pointed to this server, you will have the option of automatically applying Let's Encrypt SSL. Enter y and your email address to complete the process:
Do you wish to issue a Let's encrypt certificate for this domain? [y/N]
Please enter your E-mail:
Please verify it is correct: [y/N]
Once finished, you should see Certificate has been successfully installed...
You can force HTTPS rules to be applied:
Do you wish to force HTTPS rewrite rule for this domain? [y/N]
Complete the process by pressing Y:
Do you wish to update the system which include the web server? [Y/n]
You should not be prompted to initiate this setup again.
Step 4.
Visit the default script by entering http://Server_IP/ on your browser and you should see Hello, world!.
You can also enter http://Server_IP/admin/ to get the Django administration page
Start editing the Django project under /usr/local/lsws/Example/html/
Please access into virtual environment first
source /usr/local/lsws/Example/html/bin/activate
Django demo site structure:
demo
|-demo
   │-settings.py
   │-urls.py
   │-wsgi.py
   │-__init__.py
|-manage.py
|-public
   |-static
|-db.sqlite3
|-app
|-stderr.log
Optional but recommended:
Update system software.
sudo apt update && sudo apt upgrade -y
Your system is installed and ready to use!
Components
The OpenLiteSpeed Django 1-Click Droplet installs several packages and performs other actions on your system.
Package Installation
| Component | Version |
|---|---|
| Linux | Ubuntu 26.04 |
| OpenLiteSpeed | Latest from LiteSpeedtech Repo |
| Django | Latest from APT |
| Certbot | Latest from APT |
Other Actions
Enable Firewall
This droplet enables the UFW firewall to allow only SSH (port 22), HTTP (port 80) and HTTPS (port 443) access.
Set Up Demo Django Project
The droplet executes the following steps in order to set up a demo Django project called demo, and a Django app called app. These steps are taken automatically. You don't need to do anything.
-
Create a demo project called
demoand Django app calledapp:django-admin startproject demo cd demo python3 manage.py startapp app -
Edit
settings.pyto allow hosts:ALLOWED_HOSTS = ['*'] -
Edit
settings.pyto look for static files in a directory calledstaticin our root directory:STATIC_URL = '/python/static/' STATIC_ROOT = '/usr/local/lsws/Example/html/demo/public/static' -
Collect static files:
mkdir -p public/static python3 manage.py collectstatic -
Create a view which returns
Hello, world!as an HTTP response:def index(request): return HttpResponse("Hello, world!") - Set a default url:
urlpatterns = [ path('', views.index, name='index'), path('admin/', admin.site.urls), ] -
Change owner:
chown -R nobody:nogroup /usr/local/lsws/Example/html/demo -
Set up a context via Web Admin > Virtual Hosts > Context > Add:
- Type =
App Server - URI =
/ - Location =
/usr/local/lsws/Example/html/demo/ - Binary Path =
/usr/local/lsws/fcgi-bin/lswsgi - Application Type =
WSGI - Startup File =
demo/wsgi.py - Environment =
PYTHONPATH=/usr/local/lsws/Example/html/lib/python3.8:/usr/local/lsws/Example/html/demo - Environment =
LS_PYTHONBIN=/usr/local/lsws/Example/html/bin/python
- Type =
Benchmark Comparison
Use the following command to test from an x-CPU plan server(ab) to an x-CPU plan server(DOMAIN)
ab -n 100000 -k -H "Accept-Encoding: gzip,deflate" -c 100 http://DOMAIN/
Requests per Second (The larger the number, the better)
| Nginx+Gunicorn | Openlitespeed |
|---|---|
| 700 | 1750 |
How to Access the Installed Software
Web Server Control Panel Access
Get the WebAdmin admin password:
cat .litespeed_password
cat /home/ubuntu/.litespeed_password
cat /home/ubuntu/.litespeed_password
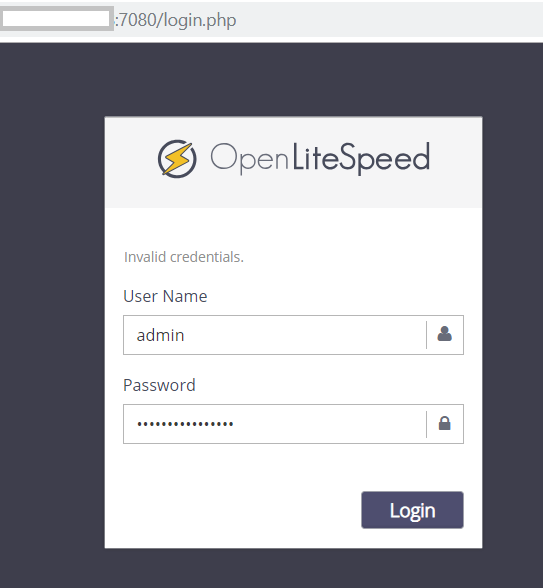
Visit https://use_your_droplet_ip:7080 to access WebAdmin in a browser.
By default, WebAdmin uses port 7080. To allow access to 7080 from your IP(e.g. 192.0.2.0):
ufw allow from 192.0.2.0 to any port 7080
ufw allow 7080
We suggest turning this port off once you've finished setup:
ufw delete allow 7080
Django Administration Page

Run the following command in the project directory to setup an account and password:
python3 manage.py createsuperuser
Optional Setup
Enable HTTPS
Setting up an SSL certificate enables HTTPS on the web server, which secures the traffic between the server and the clients connecting to it. Certbot is a free and automated way to set up SSL certificates on a server.
Step 1. Register Domain
To use Certbot, you’ll need a registered domain name and DNS records:
-
An A record from the domain (e.g.,
example.com) to the server’s IP address -
An A record from the domain prefaced with
www(e.g.,www.example.com) to the server’s IP address.
Step 2. Add Domain to Listener
Navigate to OpenLiteSpeed WebAdmin Console > Listeners, and add Your Domain to HTTP/HTTPS. 
Step 3. Certbot
Once the DNS records are set up, you can generate the SSL certificate. Be sure to substitute the correct domain name in the following command:
certbot certonly --webroot -w /var/www/html/ -d example.com -d www.example.com
/etc/letsencrypt/ Step 4. Set SSL for HTTPS
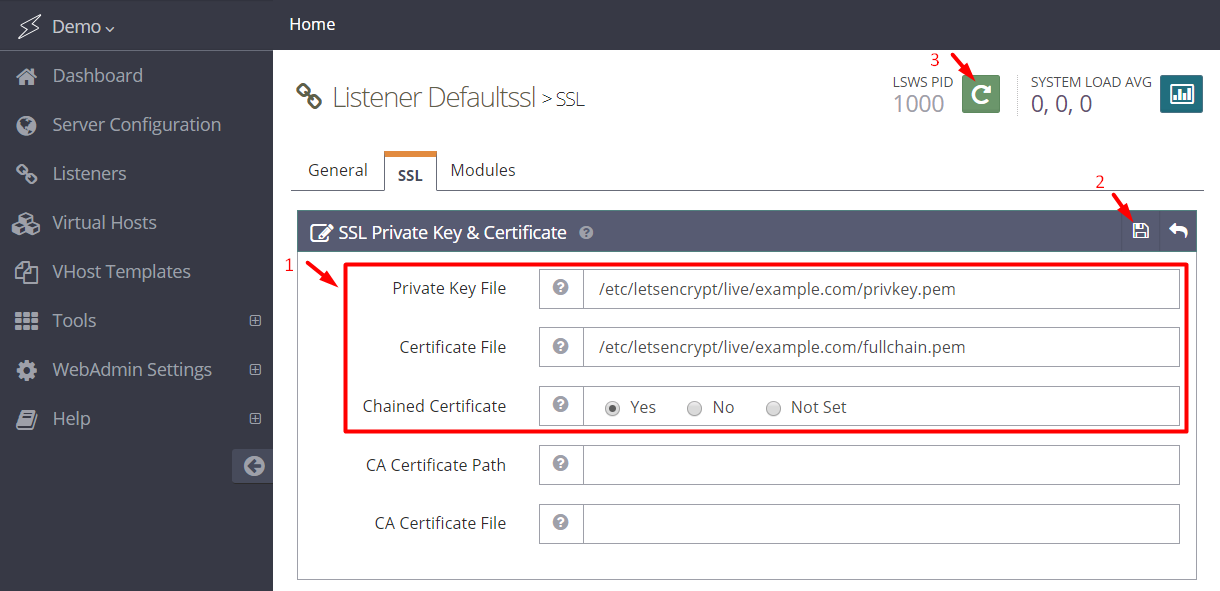
Navigate to OpenLiteSpeed WebAdmin Console > Listeners > SSL, and edit the following three items:
- Private Key File =
/etc/letsencrypt/live/example.com/privkey.pem - Certificate File =
/etc/letsencrypt/live/example.com/fullchain.pem - Chained Certificate =
Yes
Save and perform a Graceful Restart.
Now your server should support TLS 1.2, and TLS 1.3.
Step 5. Redirect HTTP to HTTPS
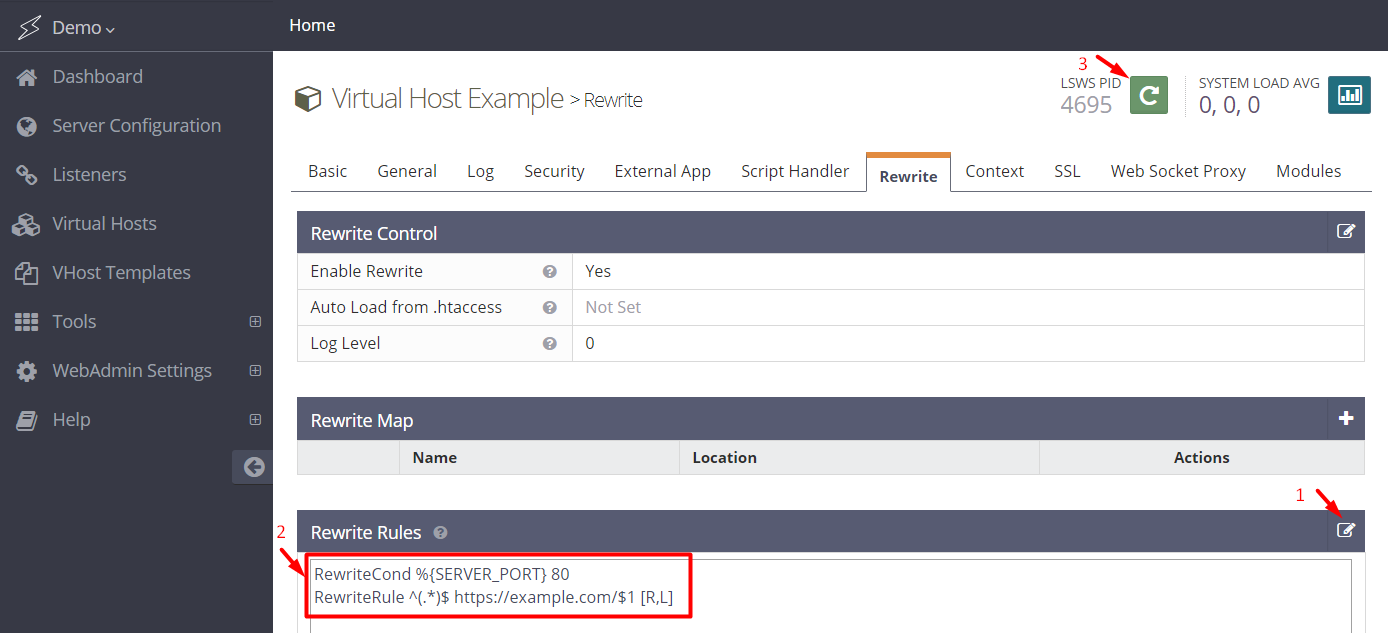
HTTPS traffic on port 443 is already allowed through the firewall. After you set up HTTPS, you can optionally rewrite all HTTP traffic to HTTPS.
Add the following rules to OpenLiteSpeed WebAdmin Console > Virtual Hosts > Rewrite > Rewrite Rules
RewriteCond %{SERVER_PORT} 80
RewriteRule ^(.*)$ https://example.com/$1 [R,L]
Method for Uploading Files
You can serve files from the web server by adding them to the web root using SFTP or other tools.
Frequently Asked Questions
How do I Reset my Web Server WebAdmin Password?
If you forget your password, you may run the following command to reset it:
/usr/local/lsws/admin/misc/admpass.sh
It will ask for the WebAdmin username, which should be admin. Then, enter your new password.
How do I Create Additional Virtual Hosts?
This method will automatically set up Listener/VirtualHost/Force SSL/Let's Encrypt/WordPress.
Interactive mode
wget https://raw.githubusercontent.com/litespeedtech/ls-cloud-image/master/Setup/vhsetup.sh
chmod +x vhsetup.sh
bash vhsetup.sh
/bin/bash <( curl -sk https://raw.githubusercontent.com/litespeedtech/ls-cloud-image/master/Setup/vhsetup.sh )
CLI mode
wget https://raw.githubusercontent.com/litespeedtech/ls-cloud-image/master/Setup/vhsetup.sh
chmod +x vhsetup.sh
bash vhsetup.sh -d www.example.com -le admin@example.com -f -w
/bin/bash <( curl -sk https://raw.githubusercontent.com/litespeedtech/ls-cloud-image/master/Setup/vhsetup.sh ) -d www.example.com -le admin@example.com -f -w
-
Please be sure that your domain is already pointing to the server when using
-le YOUR_EMAIL -
Please be sure that your environment has php/sql service/sql root password when using
-w
By default, OpenLiteSpeed has an example virtual host already created. You can create more virtual hosts if you like. See Create Virtual Hosts on OpenLiteSpeed.
How do I upgrade OpenLiteSpeed to latest stable version?
OpenLiteSpeed was installed from the LiteSpeed repository, so you can simply use the system update to update OpenLiteSpeed to the latest stable version.
$ sudo apt update && sudo apt upgrade openlitespeed -y
How do I Create Additional Django by Context?
How do I Create Django with a Virtual Environment?
How Does Certbot's Auto Renew Script Work?
The image comes with automatic certificate renewal by default in /etc/cron.d/certbot. An example of the cron job is:
0 */12 * * * root test -x /usr/bin/certbot -a \! -d /run/systemd/system && perl -e 'sleep int(rand(43200))' && certbot -q renew
Once you finish the Let's Encrypt apply by prompt script, it will auto apply the server hook to the cronjob rule. An example of the cron job is:
0 */12 * * * root test -x /usr/bin/certbot -a \! -d /run/systemd/system && perl -e 'sleep int(rand(43200))' && certbot -q renew --deploy-hook "systemctl restart lsws"
This cron job is triggered twice every day to renew the certificate. The certbot -q renew command will check if the certificate is expiring in the next 30 days. If it is, then certbot will auto renew the certificate quietly without generating output, and auto restart the web server by hook. If the certificate is not expiring, then no action will be performed. When renewing the certificate, the same information provided during certificate creation (such as email address, domain name, web server root path etc.) will be used.
What if the Certbot Deploy Hook is not Triggered?
If your certificate renewal is successful, but for some reason the deploy hook is not being triggered, you can run the following command. This will insert a restart lsws command into the Certbot cronjobs.
echo '0 0 * * 3 root systemctl restart lsws' | sudo tee -a /etc/cron.d/certbot > /dev/null
This particular example triggers a web server restart every Wednesday at Midnight. You can modify the 0 0 * * 3 part of the command to adjust the schedule, if needed.
How do I Change the Django Startup File?
If you want to change the default startup file name from wsgi.py to demo.js, just update the Context and set Startup File = demo.py.
How do I Fix Permission Issues?
chown -R nobody:nogroup /usr/local/lsws/Example/html/demo
Change /usr/local/lsws/Example/demo to your actual project path
How do I Restart the Python Process?
OpenLiteSpeed comes with python in detached mode by default, so you will need to restart python with following command to make any new settings take effect:
killall lswsgi
How do I Switch SQLite to MySQL?
If you would prefer to use MySQL instead of the default SQLite 3 database, try the following steps:
-
Install MySQL:
apt install mysql-server -y apt install python3-dev libmysqlclient-dev default-libmysqlclient-dev -y -
Create the database, user, and password, and apply privileges:
sudo mysql -u root<< EOF CREATE DATABASE demo; CREATE USER 'myprojectuser'@'%' IDENTIFIED WITH mysql_native_password BY 'password'; GRANT ALL ON demo.* TO 'myprojectuser'@'%'; FLUSH PRIVILEGES; EOF -
Access the virtual environment by following step 3:
source /usr/local/lsws/Example/html/bin/activate -
InstallMySQL drivers for Python 3:
pip3 install mysqlclient -
Update the Django project database. Go to the project, and edit the
settings.pyfile:Update database section, replacing the following:cd /usr/local/lsws/Example/html/demo vi demo/settings.pywith:DATABASES = { 'default': { 'ENGINE': 'django.db.backends.sqlite3', 'NAME': os.path.join(BASE_DIR, 'db.sqlite3'), } }DATABASES = { 'default': { 'ENGINE': 'django.db.backends.mysql', 'OPTIONS': { 'read_default_file': '/etc/mysql/my.cnf', }, } } -
Create MySQL credentials:
cat >> /etc/mysql/my.cnf <<END [client] database = demo user = myprojectuser password = password default-character-set = utf8 END -
Update/migrate the database:
systemctl daemon-reload systemctl restart mysql python3 manage.py makemigrations python3 manage.py migrate -
Verify the database connection with the following command:
python3 manage.py shell:>>> from django import db >>> print(db.connections.databases)If you have existing data that must be migrated, take a look at this StackOverflow topic for tips. Note: Feel free to use the database name, username and password of your choice.Output: {'default': {'ENGINE': 'django.db.backends.mysql', 'OPTIONS': {'read_default_file': '/etc/mysql/my.cnf'}, 'ATOMIC_REQUESTS': False, 'AUTOCOMMIT': True, 'CONN_MAX_AGE': 0, 'TIME_ZONE': None, 'NAME': '', 'USER': '', 'PASSWORD': '', 'HOST': '', 'PORT': '', 'TEST': {'CHARSET': None, 'COLLATION': None, 'MIGRATE': True, 'MIRROR': None, 'NAME': None}}}
How do I Switch SQLite to PostgreSQL?
If you would prefer to use PostgreSQL instead of the default SQLite 3 database, try the following steps:
- Install PostgreSQL:
apt install postgresql postgresql-contrib -y - Create the database, user, and password, and apply privileges:
sudo -u postgres psql CREATE DATABASE demo; CREATE USER myprojectuser WITH PASSWORD 'password'; GRANT ALL PRIVILEGES ON DATABASE demo TO myprojectuser; \q - Access the virtual environment by following step 3:
source /usr/local/lsws/Example/html/bin/activate - Install PostgreSQL drivers for Python 3:
pip3 install psycopg2-binary - Update the Django project database. Go to the project, and edit the
settings.pyfile:Update database section, replacing the following:cd /usr/local/lsws/Example/html/demo vi demo/settings.pywith:DATABASES = { 'default': { 'ENGINE': 'django.db.backends.sqlite3', 'NAME': os.path.join(BASE_DIR, 'db.sqlite3'), } }DATABASES = { 'default': { 'ENGINE': 'django.db.backends.postgresql_psycopg2', 'NAME': 'demo', 'USER': 'myprojectuser', 'PASSWORD': 'password', 'HOST': 'localhost', 'PORT': '', } } -
Update/migrate the database:
python3 manage.py makemigrations python3 manage.py migrate -
Verify the database connection with the following command:
python3 manage.py shell:>>> from django import db >>> print(db.connections.databases)If you have existing data that must be migrated, take a look at this StackOverflow topic for tips. Note: Feel free to use the database name, username and password of your choice.Output: {'default': {'ENGINE': 'django.db.backends.postgresql_psycopg2', 'NAME': 'demo', 'USER': 'myprojectuser', 'PASSWORD': 'password', 'HOST': 'localhost', 'PORT': '', 'ATOMIC_REQUESTS': False, 'AUTOCOMMIT': True, 'CONN_MAX_AGE': 0, 'OPTIONS': {}, 'TIME_ZONE': None, 'TEST': {'CHARSET': None, 'COLLATION': None, 'NAME': None, 'MIRROR': None}}}
How do I Set Up a Wagtail Project with an Existing Config?
Access into virtual environment:
source /usr/local/lsws/Example/html/bin/activate
Move default "Hello World" demo site from server:
mv /usr/local/lsws/Example/html/demo /tmp
Install Wagtail python package:
pip3 install wagtail
Start a new demo site:
wagtail start demo
Access the project directory:
cd demo
Install the required package:
pip3 install -r requirements.txt
python3 manage.py migrate
Create a static file folder:
mkdir -p /usr/local/lsws/Example/html/demo/demo/public/static
Add these two lines to the end of /usr/local/lsws/Example/html/demo/demo/settings/base.py:
cat >> /usr/local/lsws/Example/html/demo/demo/settings/base.py <<END
STATIC_URL = '/python/static/'
STATIC_ROOT = '/usr/local/lsws/Example/html/demo/public/static'
END
Collect static files:
python3 manage.py collectstatic
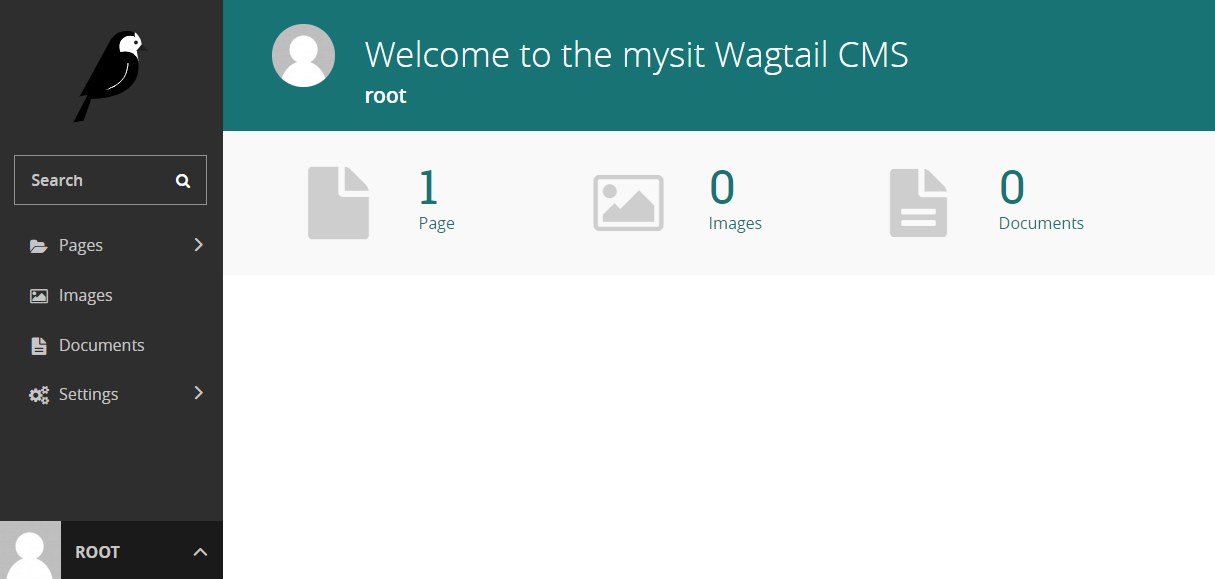
Create superuser for admin page access:
python3 manage.py createsuperuser
Change owner to default LiteSpeed permissions:
chown -R nobody:nogroup /usr/local/lsws/Example/html/demo/
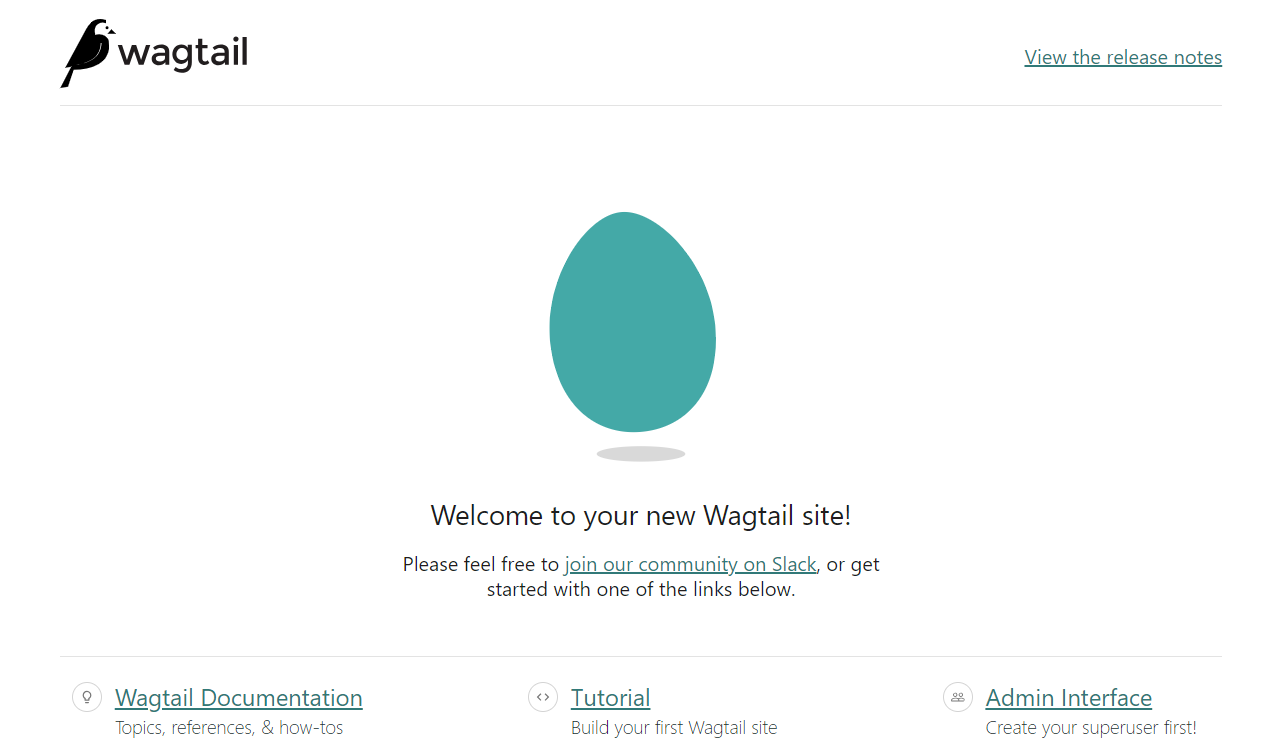
Front page:
Admin page:
How do I Set Up a Weblate tool with OpenLiteSpeed?
Install packages
Access the virtual environment:
source /usr/local/lsws/Example/html/bin/activate
Follow Weblate's documentation to install all packages and dependencies:
apt install \
   libxml2-dev libxslt-dev libfreetype6-dev libjpeg-dev libz-dev libyaml-dev \
   libcairo-dev gir1.2-pango-1.0 libgirepository1.0-dev libacl1-dev libssl-dev \
   build-essential python3-gdbm python3-dev python3-pip python3-virtualenv virtualenv git -y
apt install tesseract-ocr libtesseract-dev libleptonica-dev -y
apt install redis-server -y
apt install postgresql postgresql-contrib -y
apt install exim4 -y
apt install python3-gi-cairo postgresql-contrib -y
pip3 install Weblate psycopg2-binary ruamel.yaml aeidon boto3 zeep chardet tesserocr
Set up Database
Follow Weblate's documentation to set up a DB user with superuser permission:
sudo -u postgres psql
CREATE DATABASE weblate;
CREATE USER weblate WITH PASSWORD 'password';
GRANT ALL PRIVILEGES ON DATABASE weblate TO weblate;
ALTER USER weblate WITH SUPERUSER CREATEDB CREATEROLE;
\q
Configure Weblate to use PostgreSQL
Go to the weblate folder, then copy settings.py from the example file:
cd /usr/local/lsws/Example/html/lib/python3.8/site-packages/weblate
cp settings_example.py settings.py
Edit settings.py and make the following changes:
For PostgreSQL:
DATABASES = {
    "default": {
        # Database engine
        "ENGINE": "django.db.backends.postgresql",
        # Database name
        "NAME": "weblate",
        # Database user
        "USER": "weblate",
        # Name of role to alter to set parameters in PostgreSQL,
        # use in case role name is different than user used for authentication.
        # "ALTER_ROLE": "weblate",
        # Database password
        "PASSWORD": "password",
        # Set to empty string for localhost
        "HOST": "127.0.0.1",
        # Set to empty string for default
        "PORT": "",
    }
}
For secret key:
SECRET_KEY = "random_key"
For site_domain:
SITE_DOMAIN = "weblate.example.com"
Configure Weblate
Upgrade database structure:
weblate migrate
weblate createadmin
weblate runserver
If there's no error from the output, then you can start running Weblate on OpenLiteSpeed.
Configure OpenLiteSpeed
Update the package permission so the web server can read it:
chown -R nobody:nogroup /usr/local/lsws/Example/html/lib/python3.8/site-packages
Navigate to the WebAdmin Console at port 7080 and go to Virtual Hosts > Example > Context and Add/Edit the / App Server context with the following entries:
- URI =
/ - Location =
/usr/local/lsws/Example/html/lib/python3.8/site-packages/weblate/ - Binary Path =
/usr/local/lsws/fcgi-bin/lswsgi - Application Type =
WSGI - Startup File =
wsgi.py - Environment =
PYTHONPATH=/usr/local/lsws/Example/html/lib/python3.8:/usr/local/lsws/Example/html/lib/python3.8/site-packages/weblate - Environment =
LS_PYTHONBIN=/usr/local/lsws/Example/html/bin/python
Add/Edit the /static/ Static context with the following entries:
- URI =
/static/ - Location =
/usr/local/lsws/Example/html/lib/python3.8/site-packages/weblate/static/ - Accessible =
Yes
Click the Save button, and restart the web server.
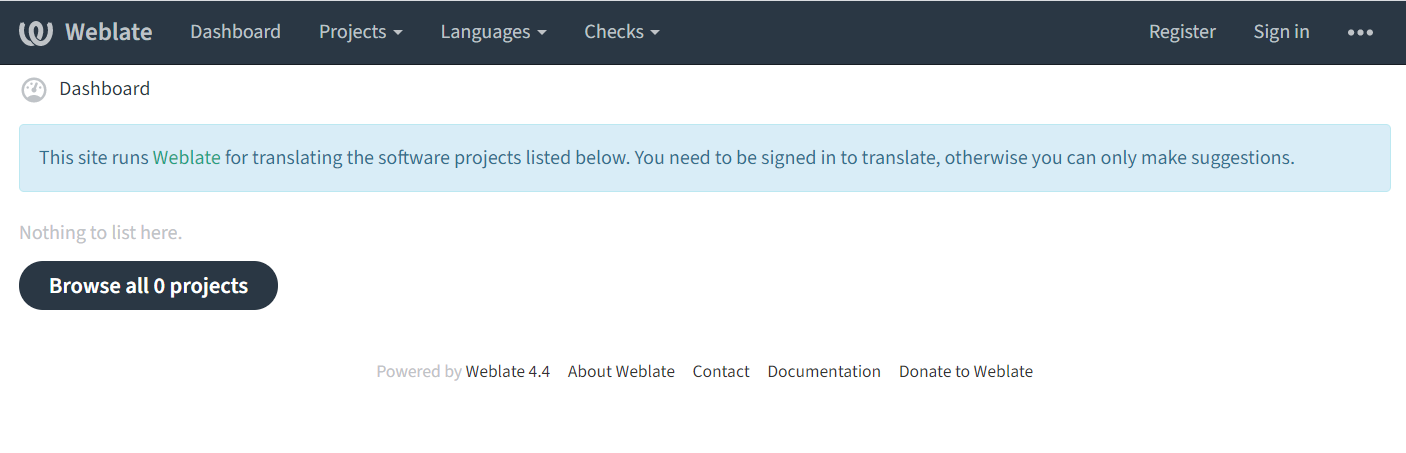
Verify
To make sure the site is working, visit your site http://example.com/ from the browser. You should see the Weblate screen:
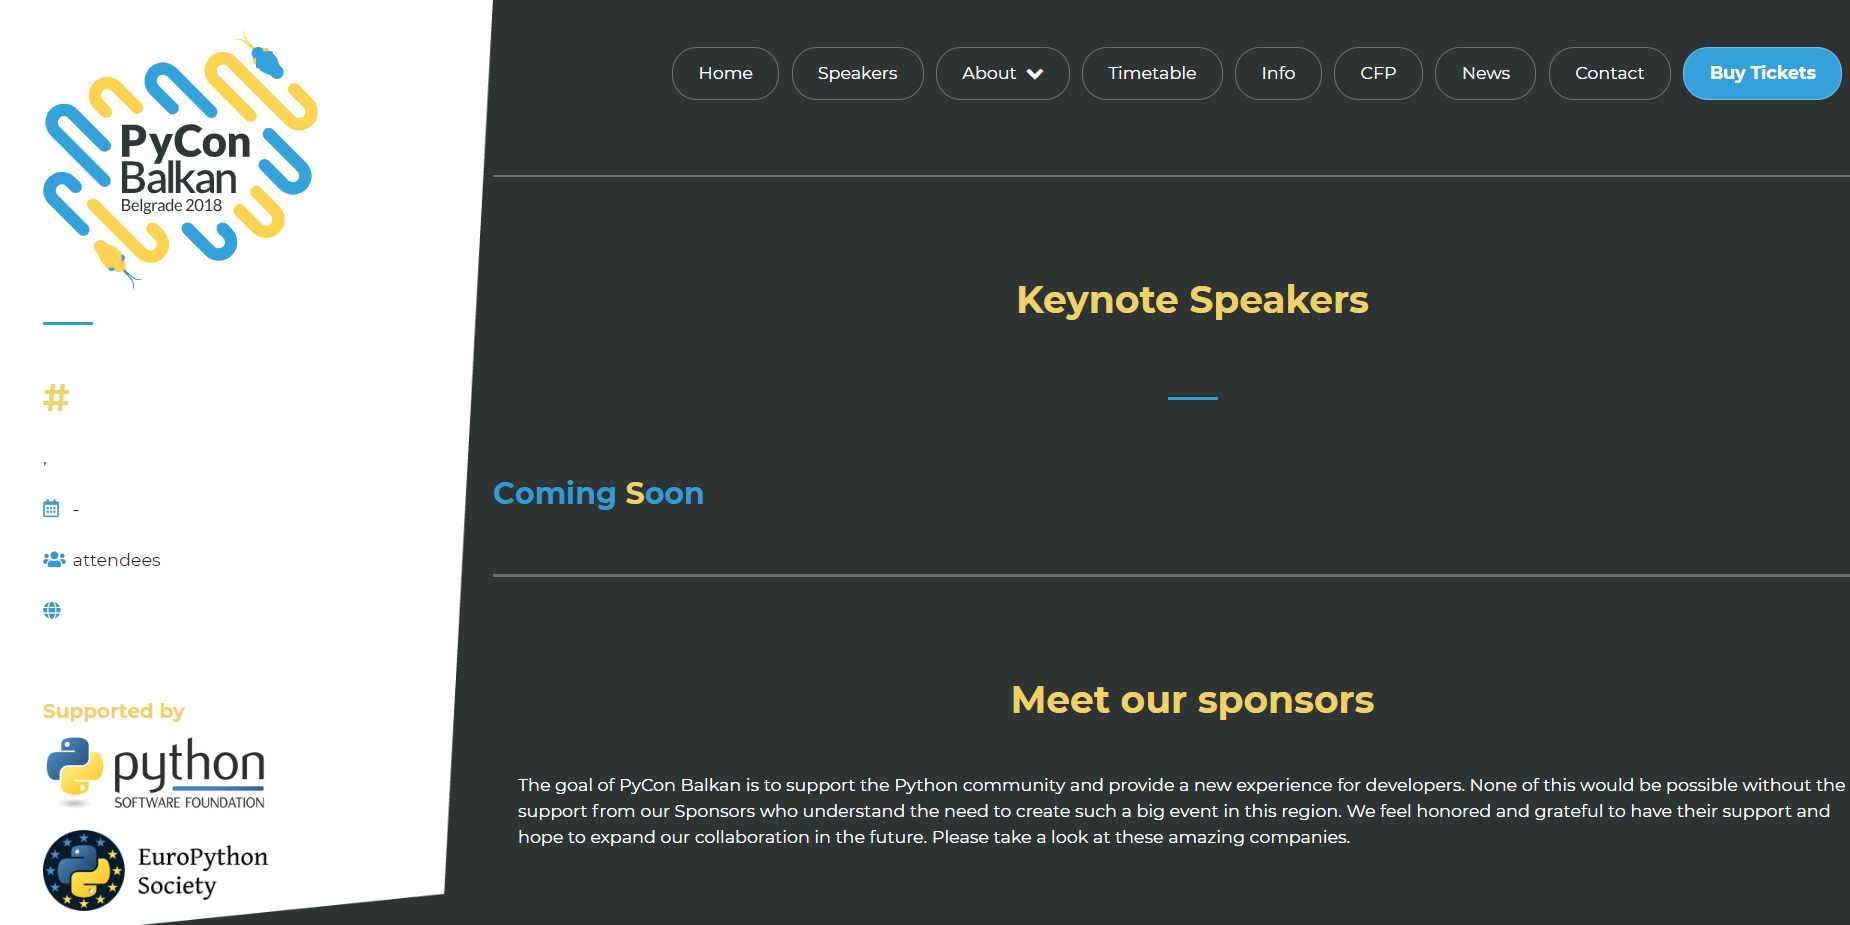
How do I Import my Django Project From Git?
Let's use pyconbalkan as an example. To import the project, run the following command:
git clone https://github.com/PythonBalkan/pyconbalkan
Install your project's requirements:
pip3 install -r requirements.txt
Create a .env file, and the content required by the project. Run migrate:
python3 manage.py migrate
Follow the Set Up Demo Django Project instructions to set up settings.py, collect static files, and change owner and context. More info
You should see the following screen:
How do I upgrade to LiteSpeed Enterprise?
This script will:
-
Generate LiteSpeed Enterprise config file from OpenLiteSpeed config
-
Backup OpenLiteSpeed config and uninstall OpenLiteSpeed
-
Install LiteSpeed and load the config file
/bin/bash <( curl -sk https://raw.githubusercontent.com/litespeedtech/ls-cloud-image/master/Setup/ols2ent-v2.sh )
Note
We recommend you to run and test this script on a test server first. Get help by using the -H parameter for more information including how to revert back to OpenLiteSpeed if needed.
How to cache the site with LSCache
We've created a LiteSpeed Cache integration for Django, available at the Python Package Index. Follow these instructions to install and configure the integration.
What should I do after upgrading the OS
If you upgraded the operating system, for example, from Ubuntu 22.04 to Ubuntu 26.04, then you will need to compile wsgi-lsapi again with the new OS.
Find the latest Python LSAPI version number in the Release Log. Replace the word VERSION in the commands below with the version number you find there (for example, 2.1):
curl -O http://www.litespeedtech.com/packages/lsapi/wsgi-lsapi-VERSION.tgz
tar xf wsgi-lsapi-VERSION.tgz
cd wsgi-lsapi-VERSION
python3 ./configure.py
make
mv lswsgi /usr/local/lsws/fcgi-bin/
Then restart the Web Server:
systemctl restart lsws
API Creation
In addition to creating a Droplet from the Openlitespeed Django 1-Click application using the control panel, you can also use the DigitalOcean API.
The following example creates an Openlitespeed Django 24.04 Droplet called “My-Droplet” in the NYC3 datacenter, with 1 GB RAM:
curl -X POST "https://api.digitalocean.com/v2/droplets" \
        -d'{"name":"My-Droplet","region":"nyc3","size":"s-1vcpu-1gb","image":"litespeedtechnol-openlitespeeddja-20-04"}' \
        -H "Authorization: Bearer $TOKEN" \
        -H "Content-Type: application/json"
In addition to creating an instance from the Django using the AWS Management Console, you can also use the AWS Command Line Interface.
The following example creates an t2.micro Instance with Django AMI:
Please replace XXX to your own settings.aws ec2 run-instances --image-id ami-0aa91b995887d3ed8 \ --subnet-id subnet-XXXXXXX \ --security-group-ids sg-XXXXXXXXXXXXXX \ --count 1 \ --instance-type t2.micro \ --key-name XXXXXX \ --query "Instances[0].InstanceId"
Get the exact name of the Django image from LiteSpeed's project, gc-image-pub:
gcloud compute images list --project=gc-image-pub --filter="name ~ 'openlitespeed django'"
Create an instance, replacing INSTANCE_NAME with the name of your choice, and IMAGE_NAME with the name obtained from the previous command:
gcloud compute instances create INSTANCE_NAME --image-project=gc-image-pub --image=IMAGE_NAME
The first time you launch, you may need to accept the marketplace terms using the following command:
Find the release version you prefer:Get-AzureRmMarketplaceTerms \ -Publisher "litespeedtechnologies" \ -Product "openlitespeed-django" \ -Name "openlitespeed-django" \ | Set-AzureRmMarketplaceTerms -AcceptLaunch VM from that image:az vm image list \ --location westus \ --publisher litespeedtechnologies \ --offer openlitespeed-django \ --all \ --output tableaz vm create \ --resource-group your-group \ --image litespeedtechnologies:openlitespeed-django:django:3.0.3 \ --name myVM \ --admin-username azure
Feel free to replace resource-group, image version, name, admin name, --generate-ssh-keys and more options with your own preferences.
Please check the Elastic Compute Service CLI Samples