Installation
This guide covers installation of LiteSpeed Web Server (LSWS) and LiteSpeed's Plesk Extension on a Plesk server. We assume that you have a working Apache-Plesk setup. While there are multiple ways to go about the installation, this guide will only cover installing the Plesk Extension first, and then installing LSWS from the extension.
Video
See a video demonstration of How to Install LiteSpeed Web Server on a Plesk Server here.
Prerequisites
- A working Plesk Apache server
- If you have an nginx reverse proxy, it must be stopped (covered below)
- Set PHP handler to
FastCGIso LSWS able to follow the handler settings
Stopping the Nginx Reverse Proxy
The latest version of Plesk may configure nginx as a reverse proxy server that sits in between the Internet and Apache. Before installing LiteSpeed Web Server, you must stop the nginx reverse proxy so that Apache is the only web server handling live traffic. Otherwise, the LiteSpeed process will be blocked from being started.
If the nginx reverse proxy is not currently stopped, you will encounter the following message when trying to access the LiteSpeed extension:
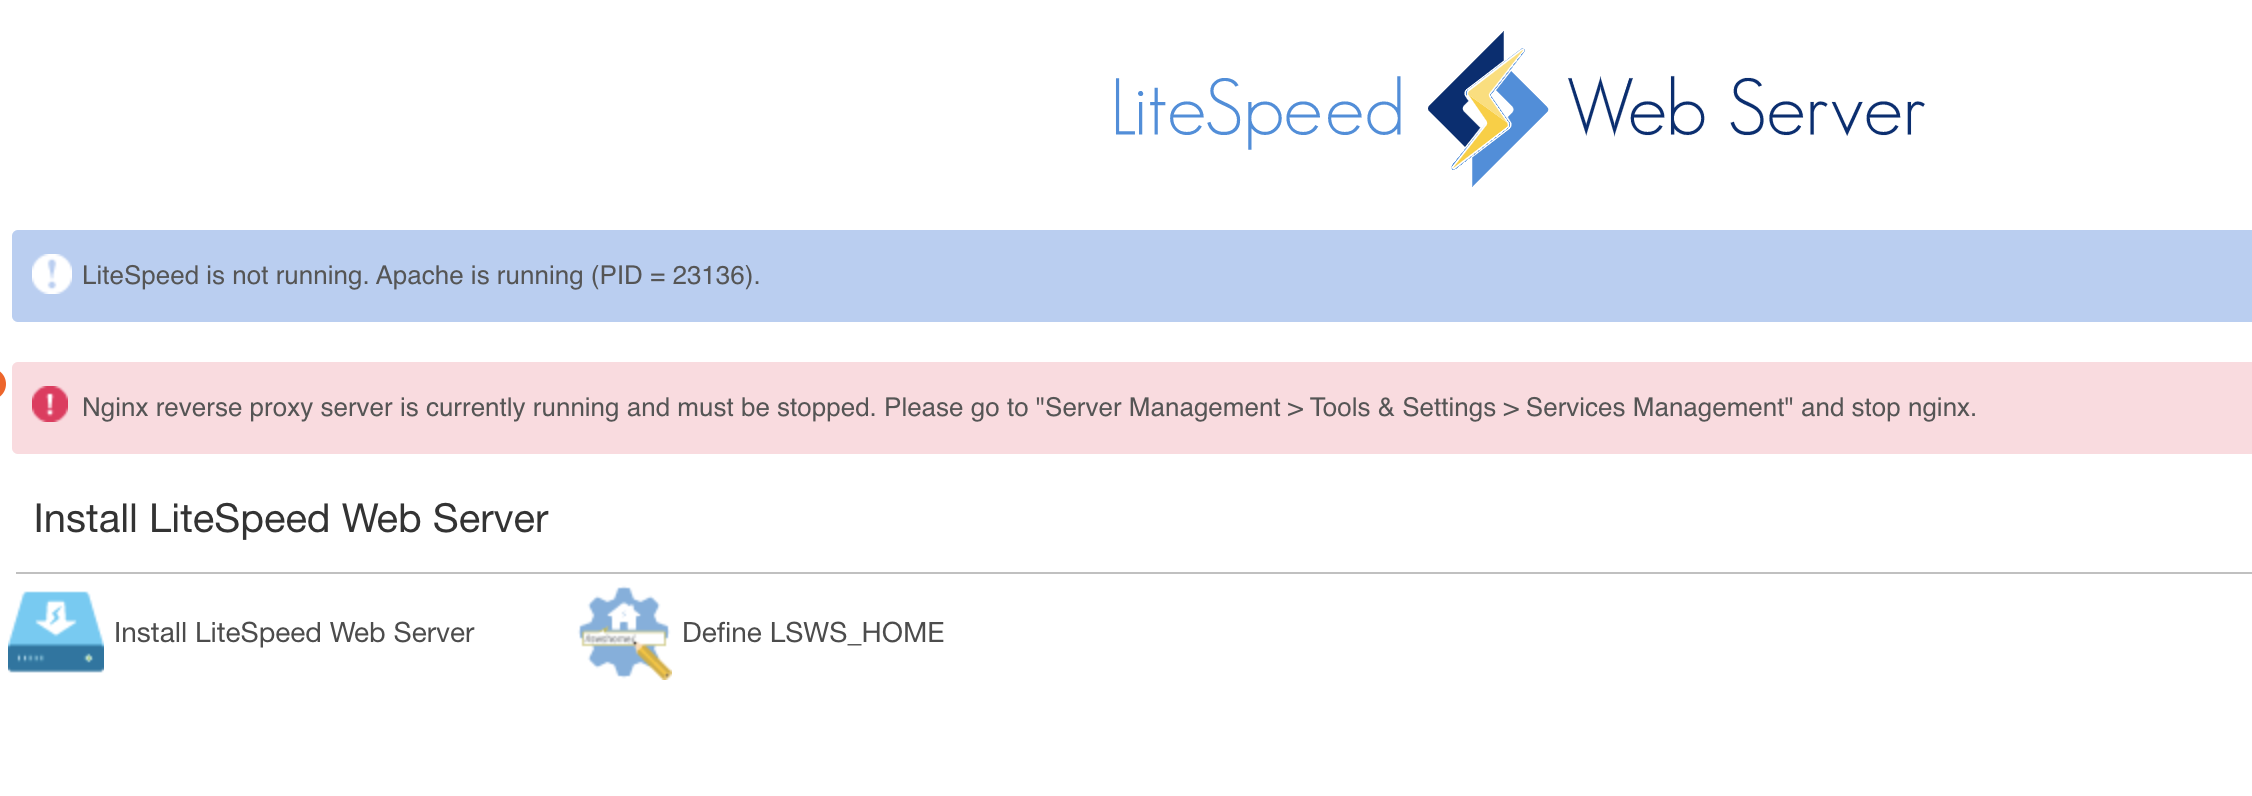
To stop the reverse proxy, from the Plesk Admin Console, navigate to Tools and Settings > Server Management > Services Management > Reverse Proxy Server (nginx), and click the Stop button.
 .
.
After nginx has stopped , please verify that Apache has been switched to run on 80/443 ports, like so:
netstat -lnp | grep httpd or netstat -lnp | grep apache
If it has not , please execute the plesk repair web command to rebuild the Apache configuration file.
Install or update the LiteSpeed Plesk extension
You can use the same method for both installation and updating the plugin.
In Plesk, navigate to Extensions and search for LiteSpeed. You can install the extension from there. This is the version stored by the Plesk team, if you need the latest version you should follow these instructions:
- Download the latest Plesk extension from our website.
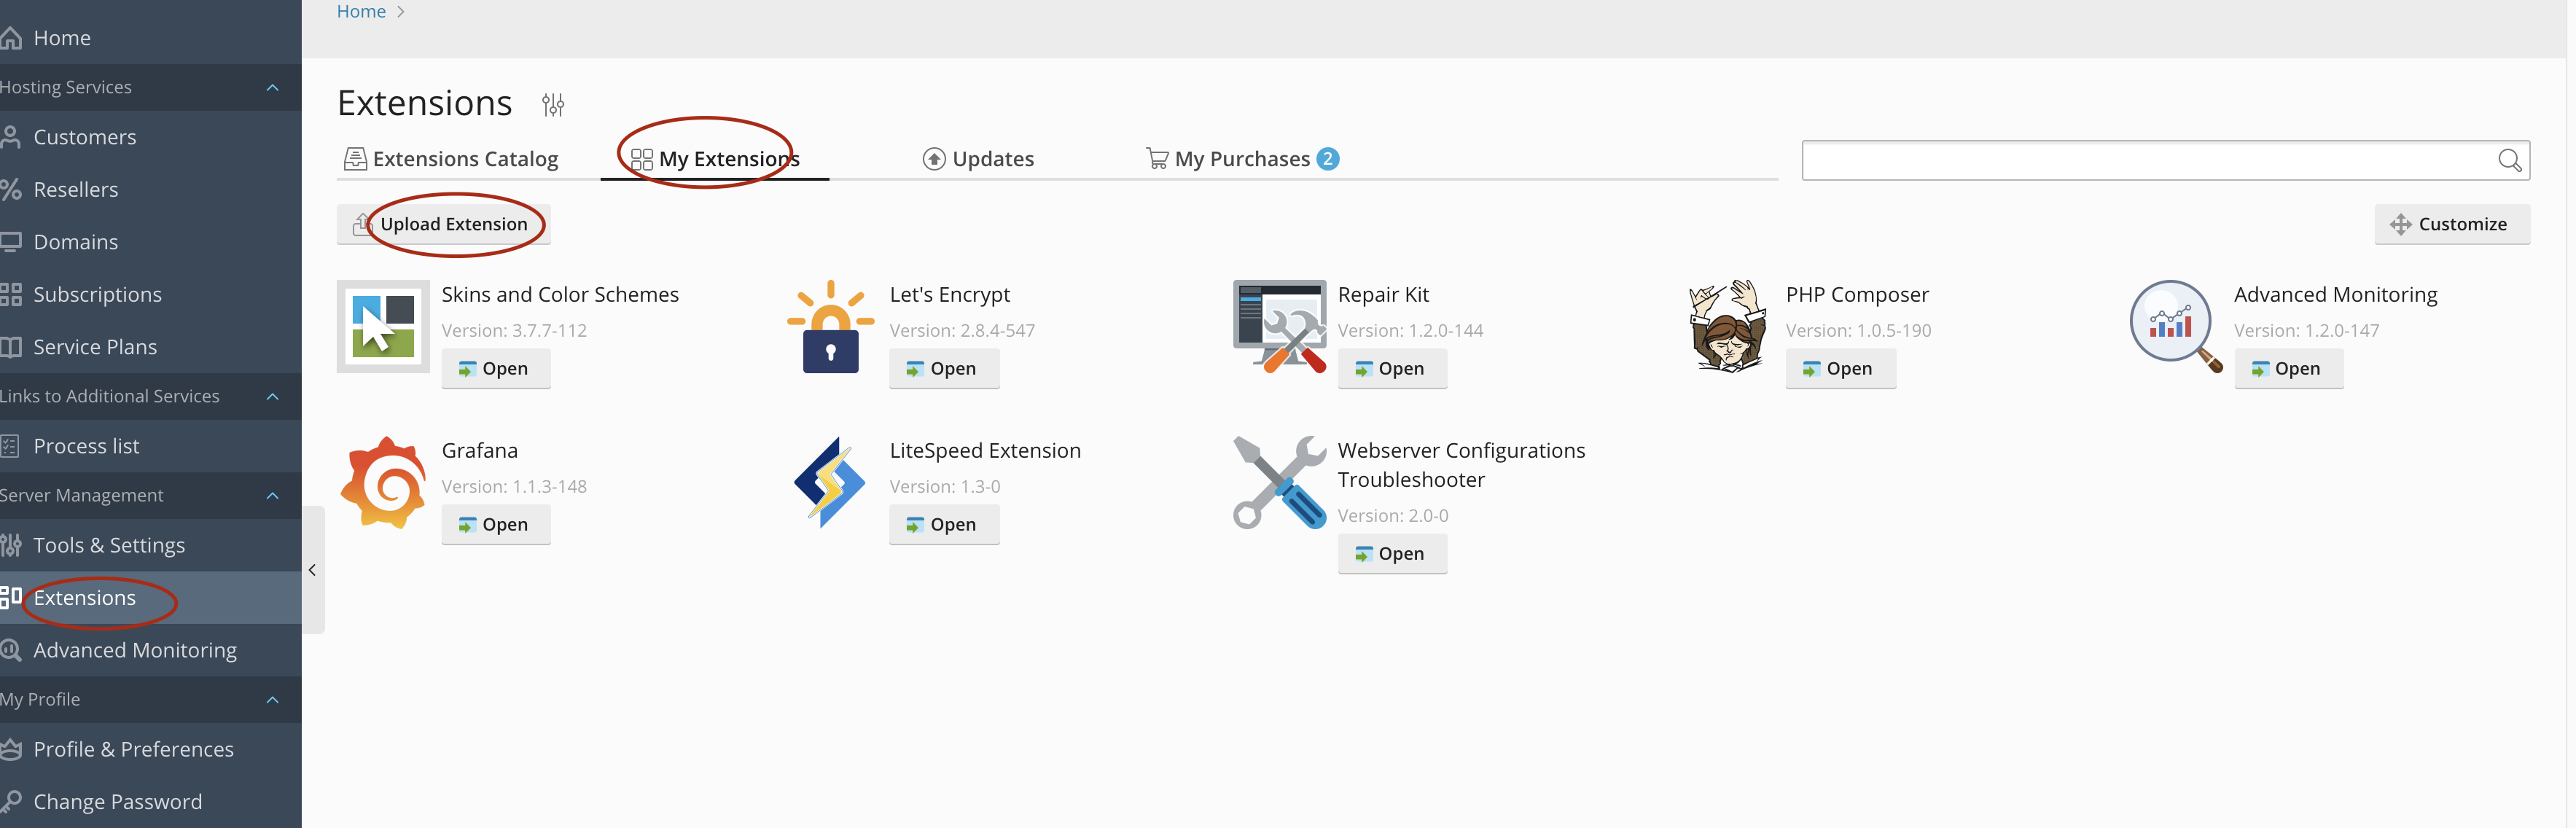
- In Plesk, navigate to Extensions > My Extensions. Click the Upload Extension button, and upload the package that was downloaded in step 1.
Tip
If the Upload Extension button is missing, in a command line as root: 1. Open /usr/local/psa/admin/conf/panel.ini for editing. If it doesn't exist, create it.
2. Add the following content, and save the file:
[ext-catalog] extensionUpload = true
3. Go back into the GUI and refresh the page. The Upload Extension button should be there.
Alternatively, you can use the command line. Download the latest Plesk extension from our website. Then run the following command as root:
plesk bin extension --install litespeed-plesk.zip
Uninstall or disable the extension
In Plesk, navigate to Extensions and press the My Extensions tab. Click on the LiteSpeed Extension icon, but not the Open button. There are 3 icons in there: Open, which runs the extension, Disable which disables the extension but leaves the configuration or Remove which completely deletes the extension and its configuration. Select either Disable or Remove, depending on which option you prefer.
Or, as root from the command line run the following:
plesk bin extension --uninstall litespeed
Install LiteSpeed Web Server
There are two methods to install LSWS on plesk. One is through the LiteSpeed Plesk Extension, and the other one is through a script. (The script doesn't install the LiteSpeed Plesk Extension. It only installs LiteSpeed Web Server.)
Install LSWS From The LiteSpeed Plesk Extension
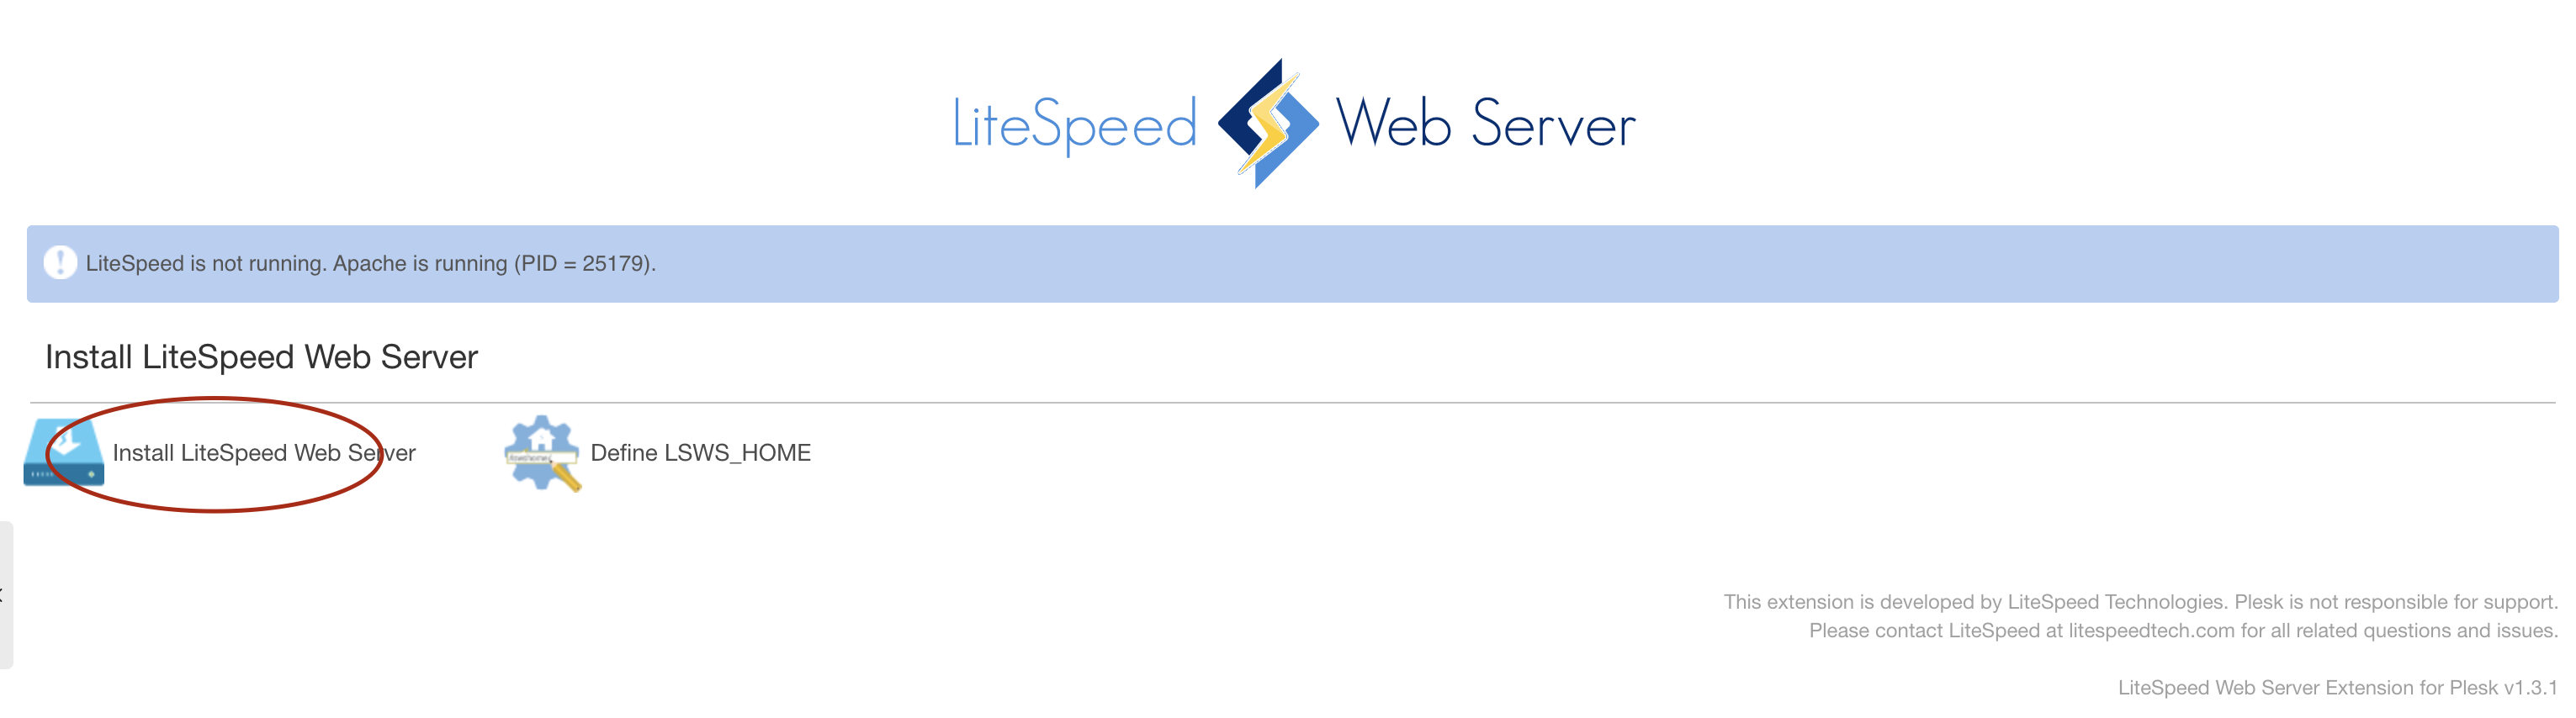
You can access the LiteSpeed Plesk Extension under Server Management > Extensions > LiteSpeed Extension.
Click Install LiteSpeed Web Server.
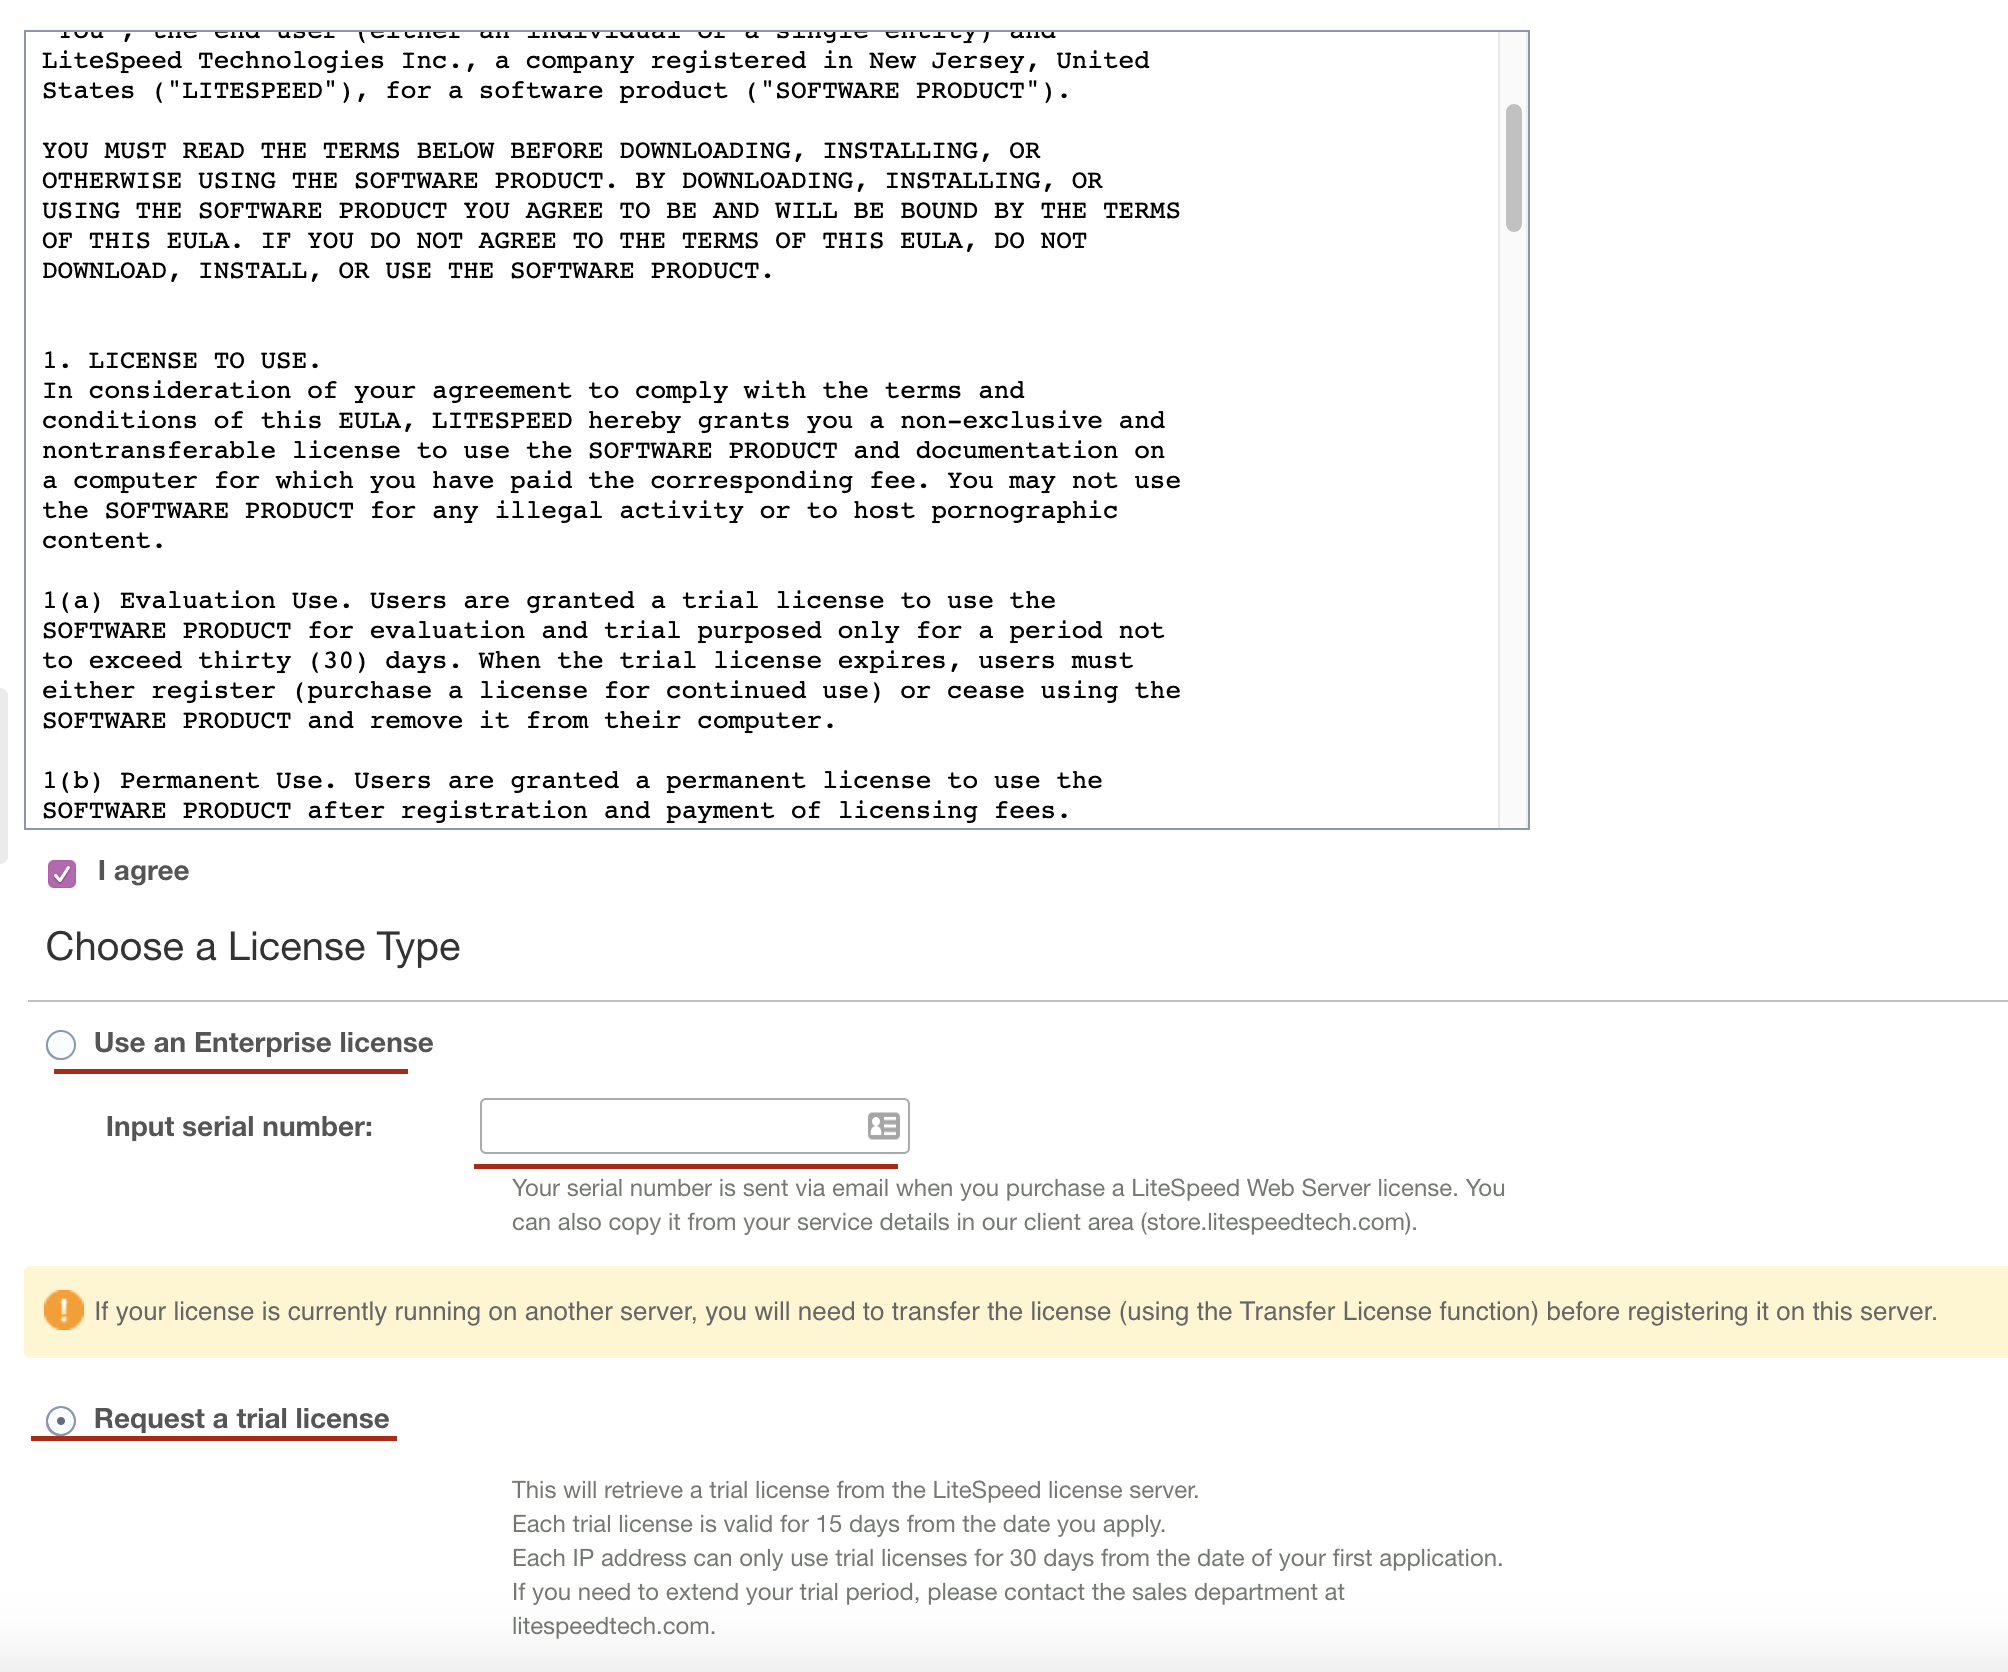
After reading the License Agreement, check the I agree box and either input your license's serial number or request a trial license.
Scrolling down a little further will present you with Installation Options and WebAdmin Console Login sections.
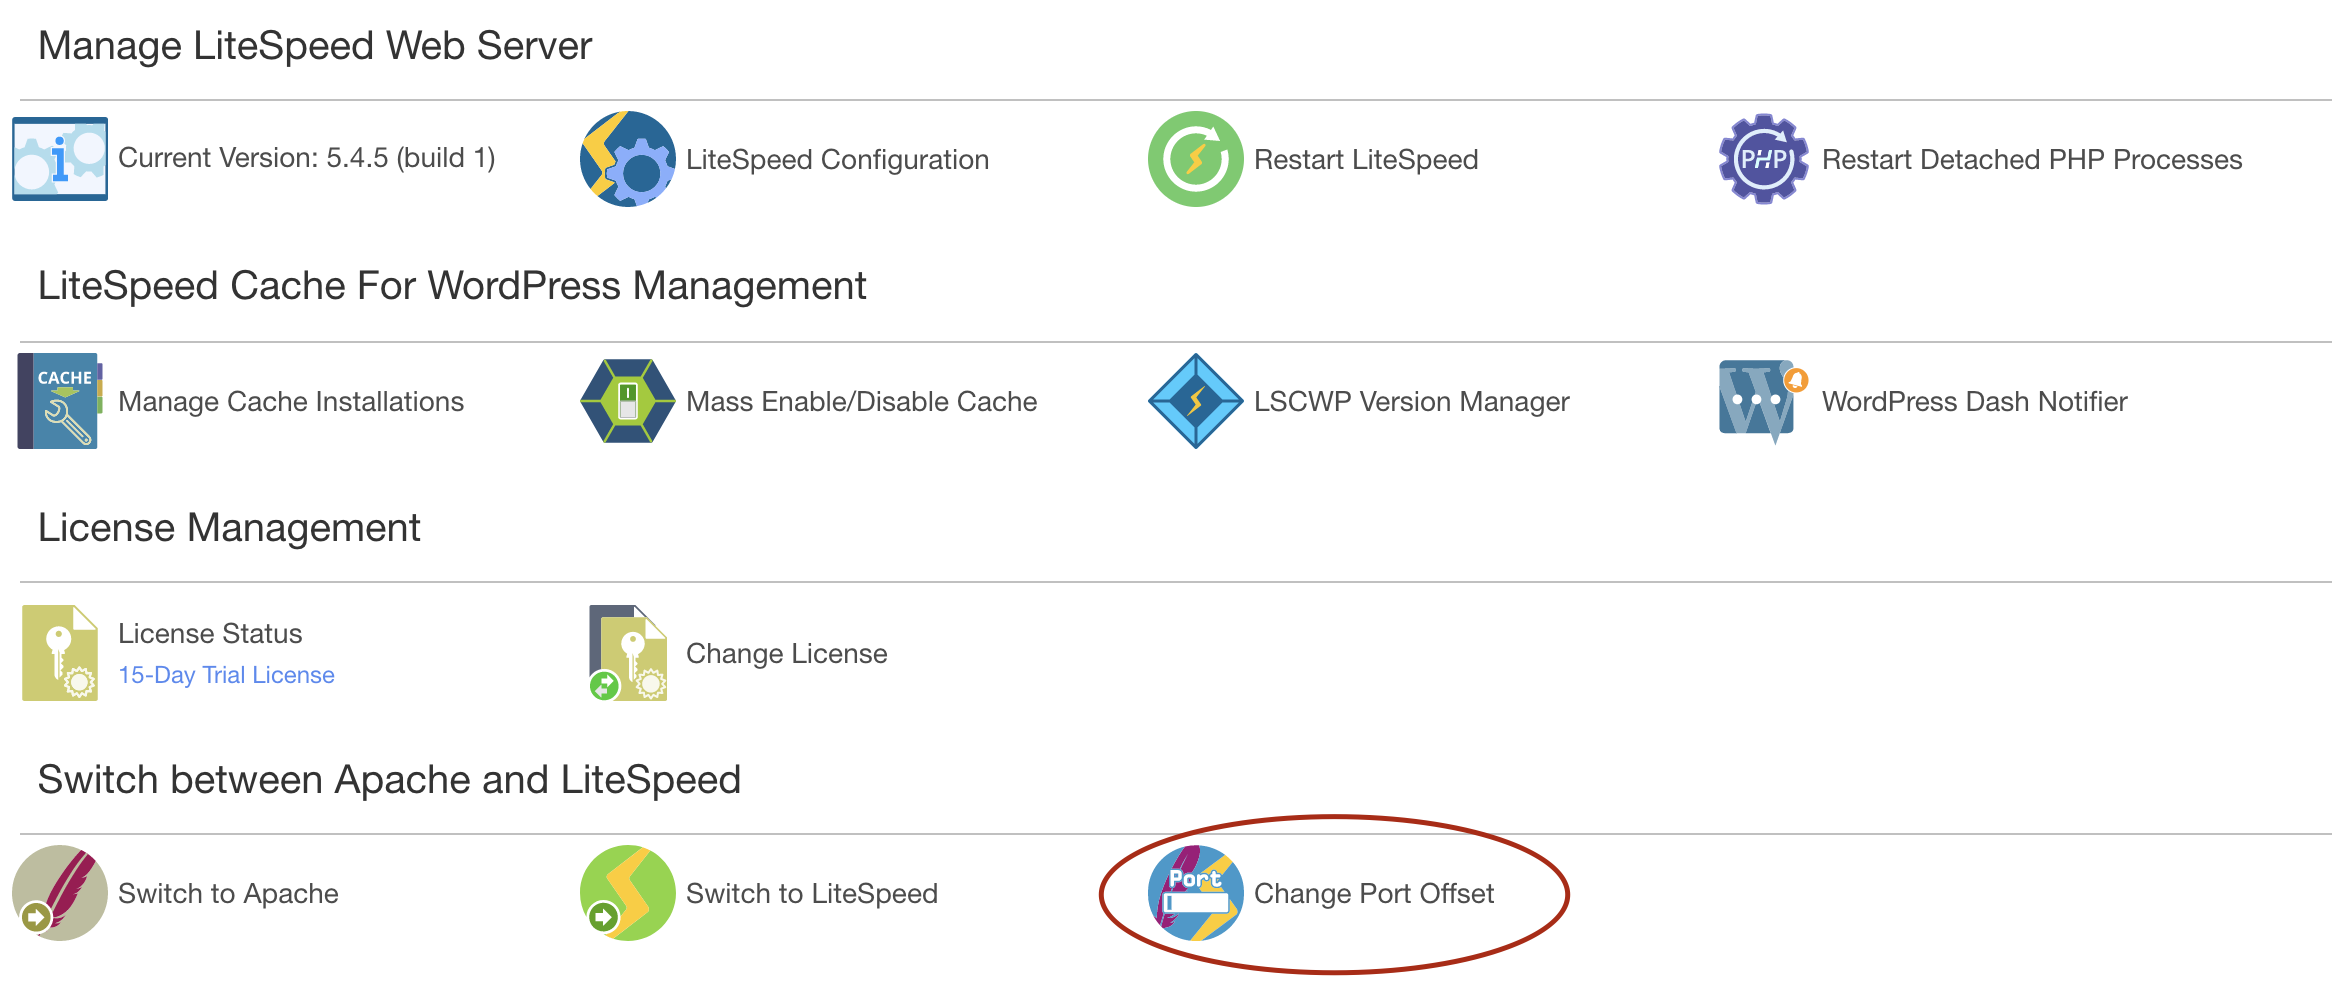
The default values for the Installation Options section should be acceptable, though it is recommended that you set a non-zero Port offset , such as 1000, for first time installations. ** Enable PHP SuEXEC** is recommended for shared hosting and selected by default. For the WebAdmin Console Login section, you are only required to enter a password, but it is recommended to use a username other than the default for security reasons.

When you're ready, click the Install button at the bottom.
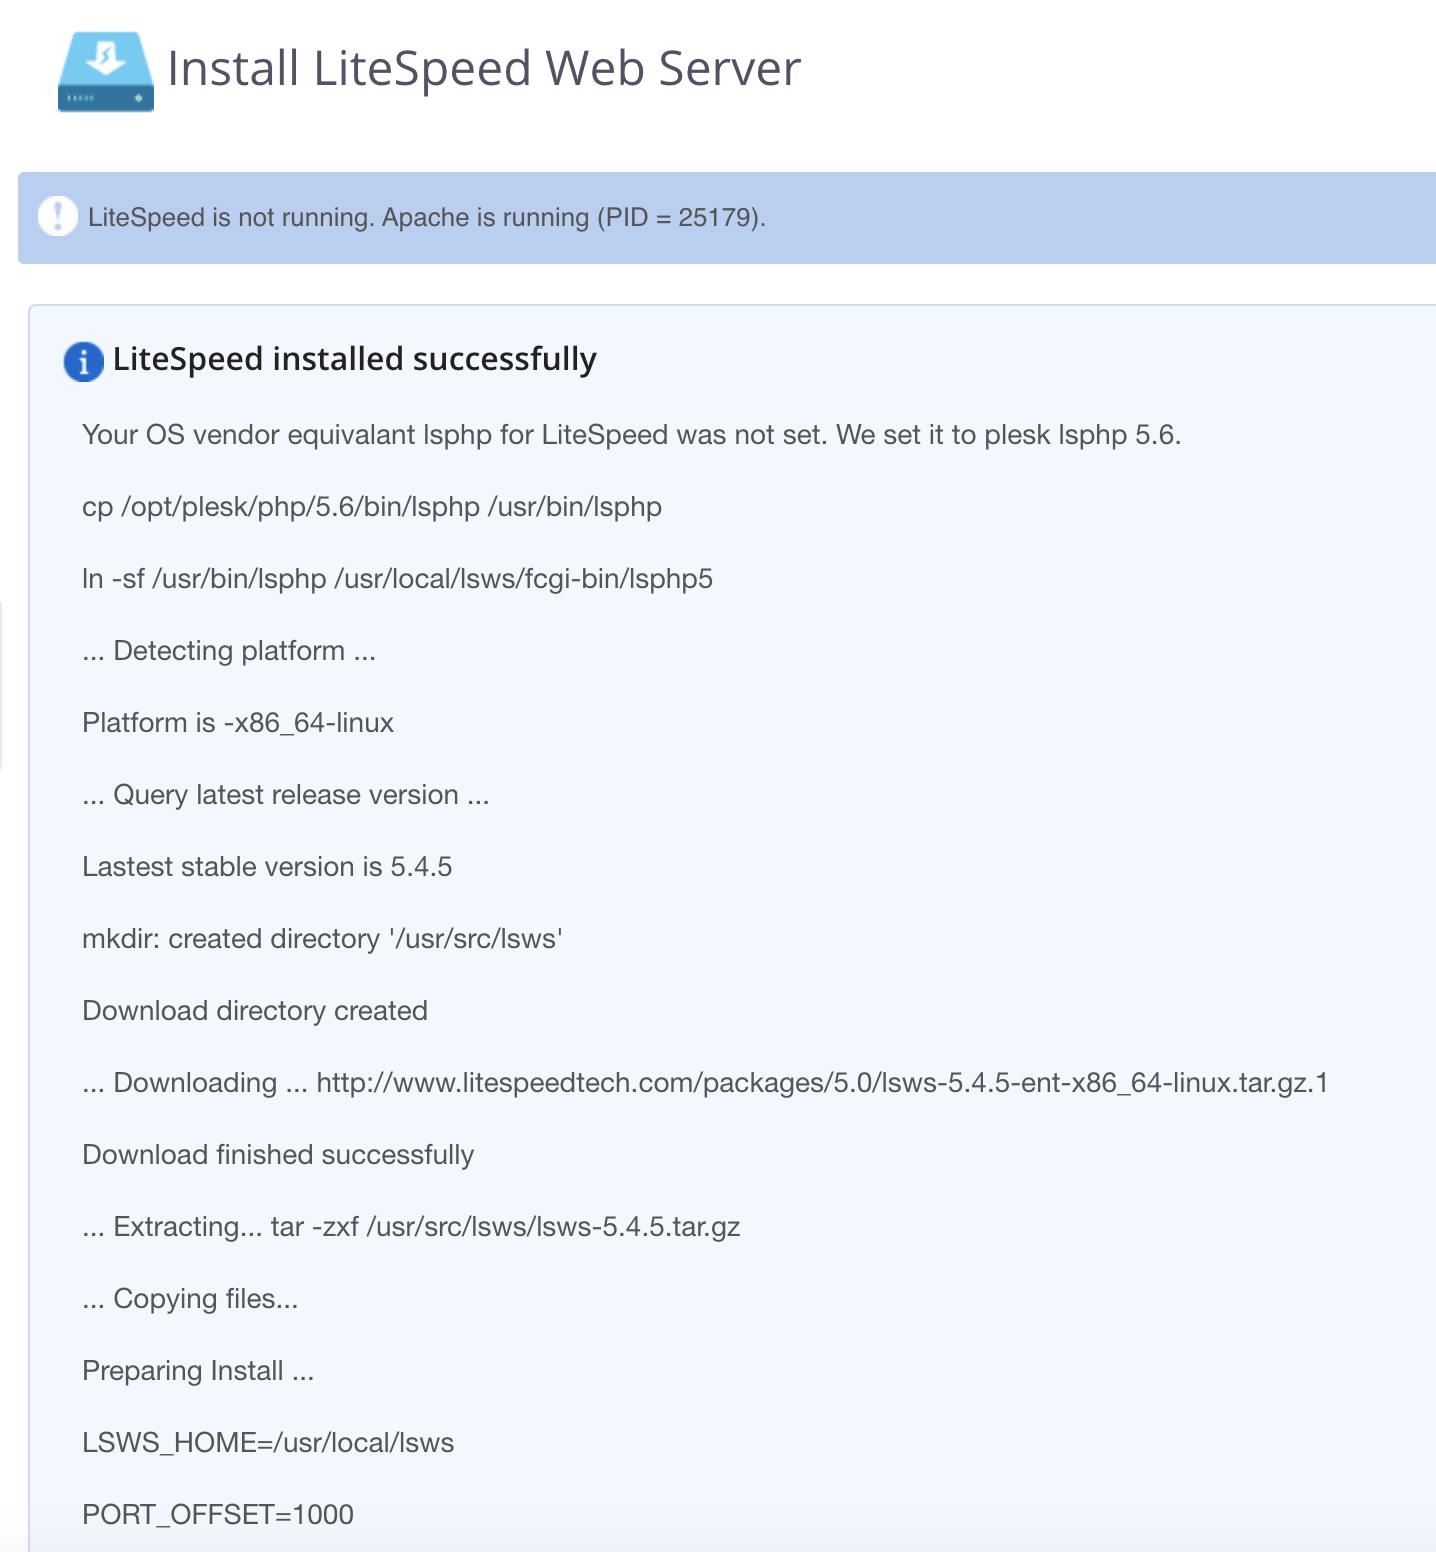
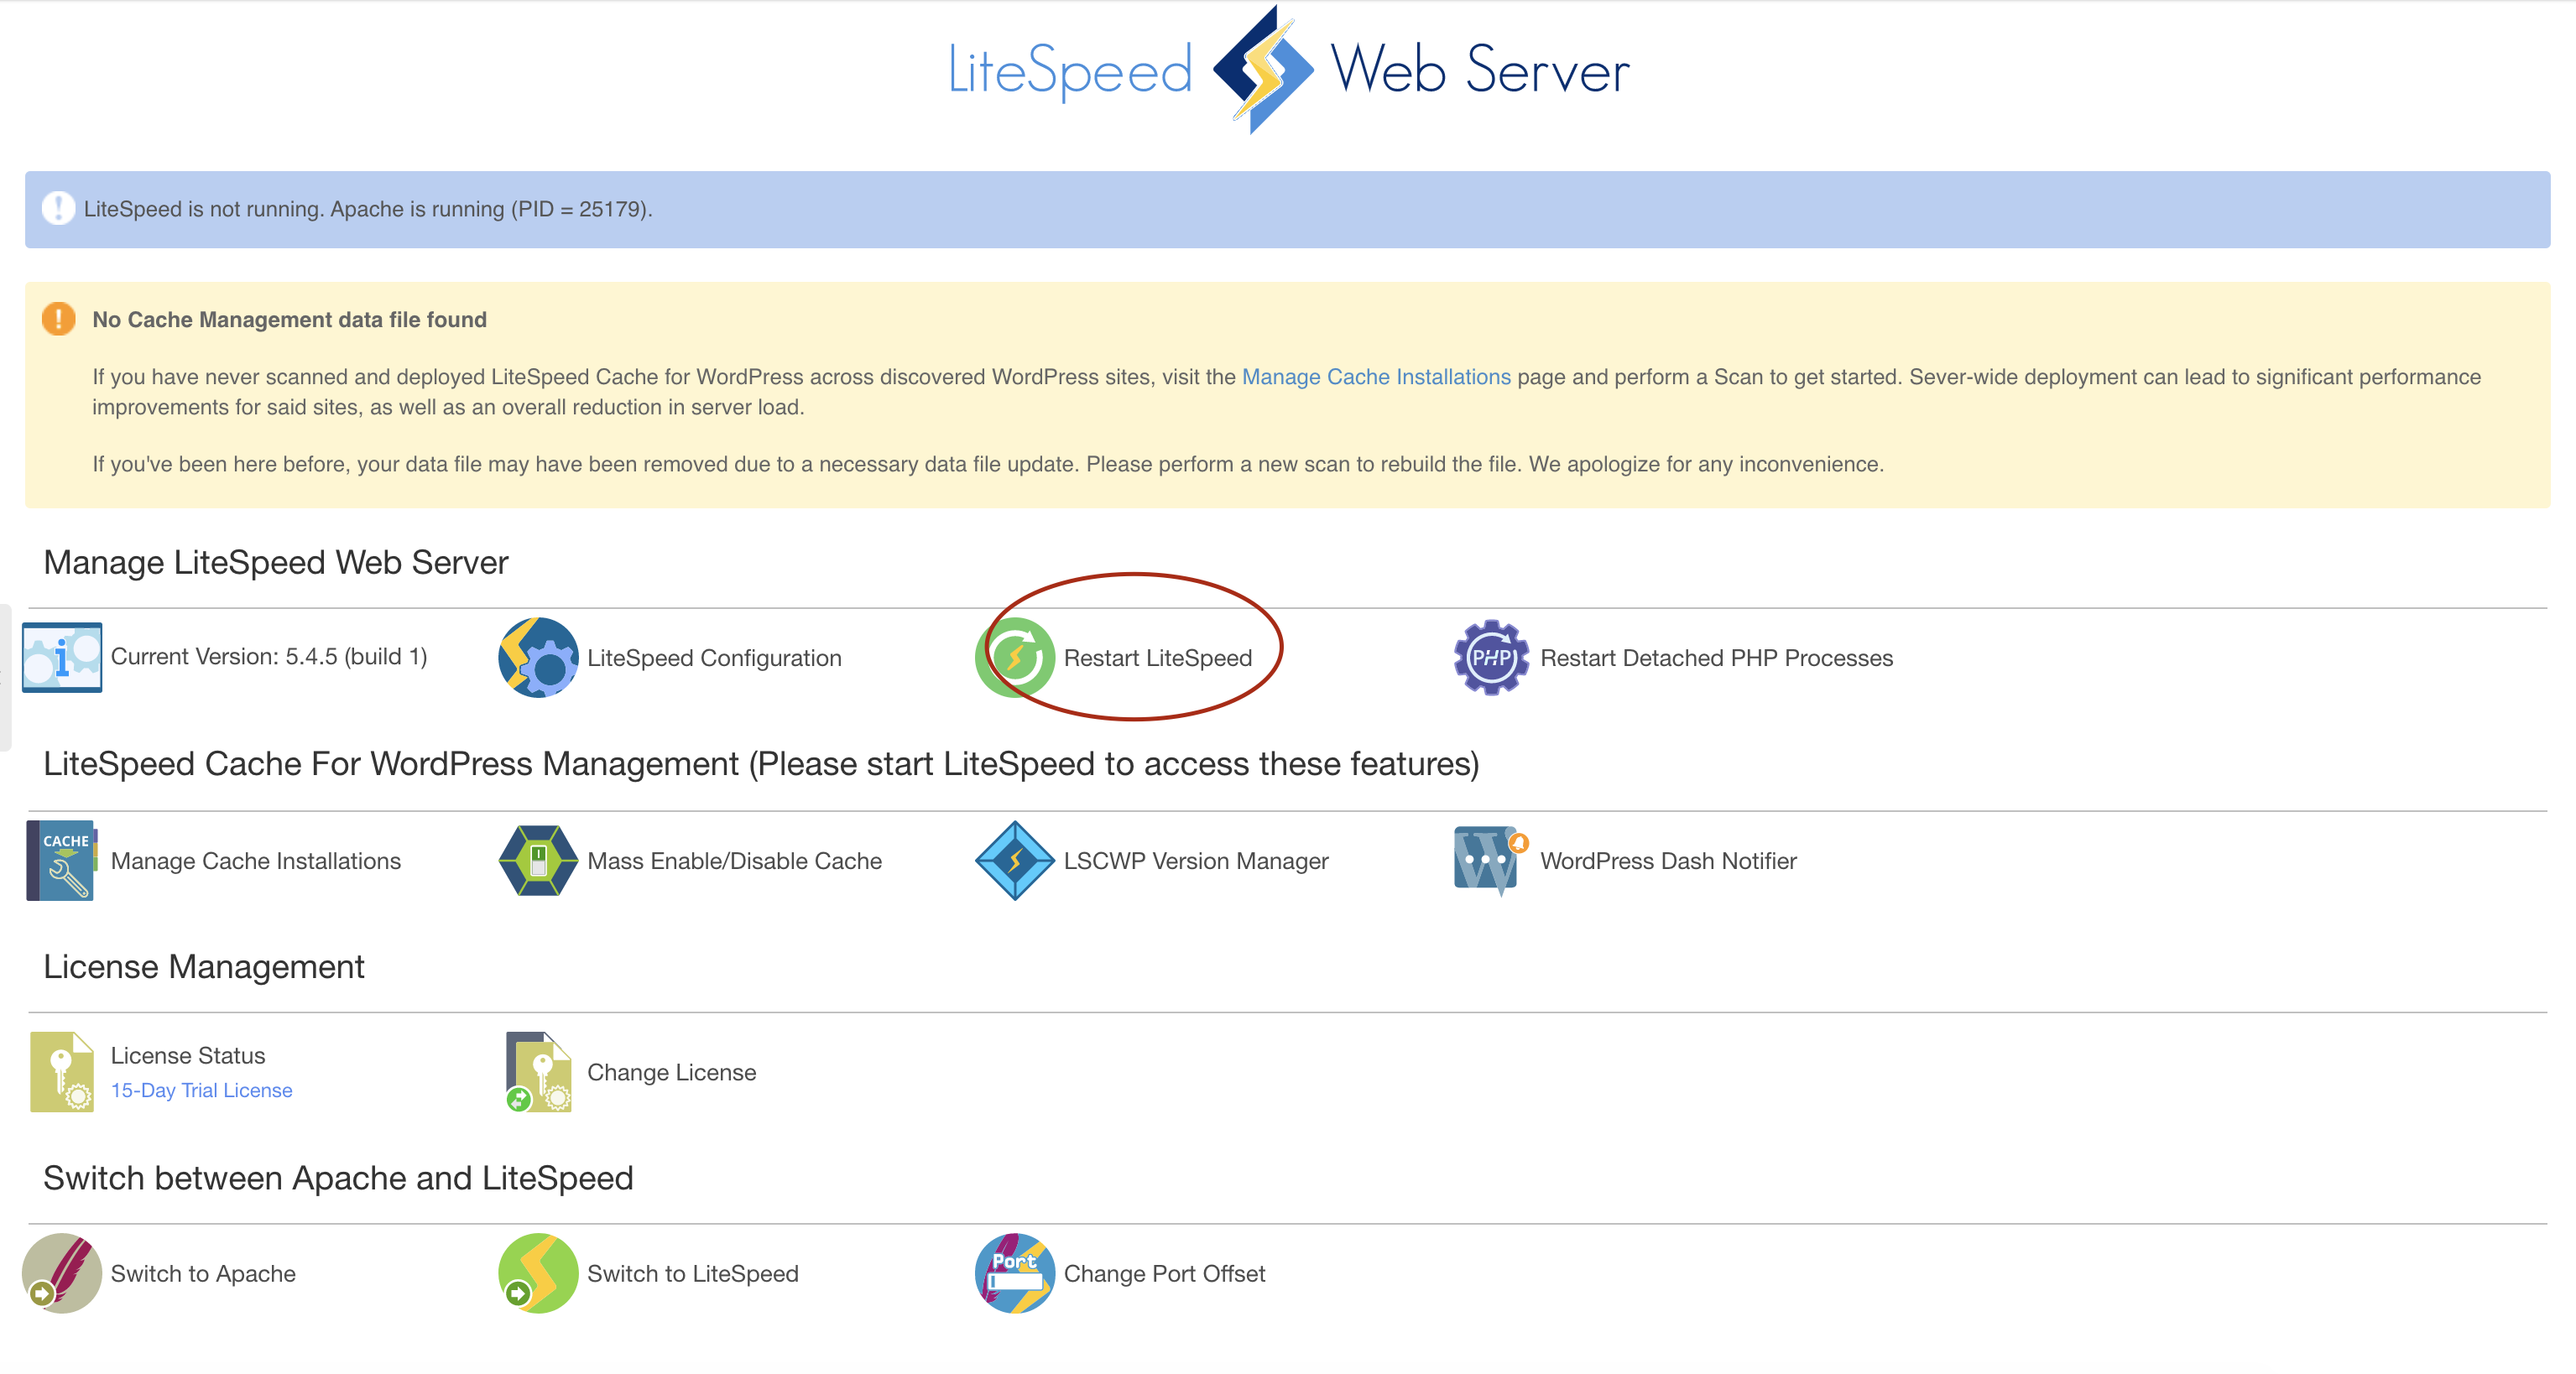
Click Okay at the bottom of the page and start LSWS by clicking Restart LiteSpeed.
If successful, you should now see a message on your LiteSpeed Extension page letting you know that both LiteSpeed and Apache are running on different ports. Apache will be running on the regular port 80, while LiteSpeed will be running on 1080, assuming your port offest is 1000.

For a staging server or test environment, there is no need to test LiteSpeed on an offset port. Also for some applications, such as WordPress and Magento, LiteSpeed cannot be tested on an offset port. For those cases, you can simply "Switch to LiteSpeed" from the extension GUI or command line for testing like so:
/usr/local/lsws/admin/misc/cp_switch_ws.sh lsws
Install LSWS Through Script
This method is recommended if you are installing LiteSpeed for the first time. We will discuss each and every option that is presented during the installation process in detail.
LiteSpeed installation is easy and straightforward. Log into your SSH server and run the following command, replacing your_serial_no with your License key:
bash <( curl https://get.litespeed.sh ) your_serial_no
This script detects your environment and downloads only the required dependencies and installation data from our servers. Depending on the environment, the script asks you for input to various questions. Finally, it installs LiteSpeed Web Server.
Tip
To use this script with a trial license, just replace your_serial_no with the word TRIAL (in all capitals), like so:
bash <( curl https://get.litespeed.sh ) TRIAL
This will automatically request a trial license for your server and install LiteSpeed Web Server on it. If you see an error while using the Trial License, please refer to the FAQ.
Once you've started the script, it will detect that your installation is using Plesk and will ask for your input with the following prompts:
Could not find an lsws.options file
Could not find an lsws.options file. We will ask you for your preferred settings instead, but for automated bulk provisioning, you may want to exit and create an lsws.options file. Continue Installer(Y/N) ?
This is expected since this is the detailed installation process. lsws.options is for quick/automatic installation.
Press Y and Enter to proceed.
Enable PHP_SUEXEC
Enable PHP_SUEXEC. Run PHP processes as the account owner. Available values: 0 (off), 1 (on), and 2 (user home directory only).
This option defines how a PHP process will run in your server. For Shared hosting servers, a value of 2 is recommended, and is the default.
Apache port offset
Apache port offset. Run LiteSpeed in parallel with Apache. For example, if set to 1000, Apache will listen on port 80, and LiteSpeed on 1080. If set to 0, Apache and LiteSpeed will use the same port, and LiteSpeed will not automatically start after installation.
This option defines the port to which LiteSpeed Web Server should bind once installed. It is recommended that you first set the port offset to something other than 0 (like the default value of 1000). This will allow LiteSpeed and Apache to run concurrently while you test if LiteSpeed works correctly on your server.
You can change the port offset to 0, after the installation is completed and you are confident that your websites are working properly with LiteSpeed.
If you choose to set port offset to 0 now, LiteSpeed will start after installation, and Apache will be stopped. This also requires that you enable the Switch to LiteSpeed Automatically option, which we will discuss below.
Admin username
Admin username. For accessing LiteSpeed WebAdmin console.
This option defines the username you will use to access the LiteSpeed WebAdmin Console, which is helpful for accessing LiteSpeed Stats or controlling LiteSpeed behavior after installation. It is recommended that you set this to something secure.
Default value is admin.
Admin email address
Admin email address. Receive important server notices, such as license expiration and server core dumps.
This option sets the email address at which you will receive notices, warnings, and errors from LiteSpeed Webserver. It is recommended to set this to an email you regularly monitor.
Default value is root@localhost.
Switch PHP Handlers
Automatically switch PHP handlers for users and/or subscriptions inside of Plesk. Available values: 0 (No change), 1 (Switch just for users), 2 (Switch just for subscriptions), 3 (Switch for both users and subscriptions).
This option asks if you plan to switch PHP handlers for users and/or subscriptions inside of Plesk.
Default value is 0.
Switch to LiteSpeed Web Server
Switch to LiteSpeed Web Server. Automatically switches at the end of the installation if the port offset is set to 0. Available values are 1 (enable) and 0 (disable).
This option defines if the installer should automatically shut down Apache and shift to LiteSpeed Web Server after installation. If you've set Apache Port Offset to 0 earlier, then you should set this to 1.
Default value is 0.
Quick/Automated Installation
This method uses shortcuts to automate the installation and deployement of LiteSpeed in the fastest possible way on Plesk.
In most situations, running the installer script manually is sufficient. However, it is possible to automate the process for bulk provisioning. To do this you can create a lsws.options file at dirictory you run the script command such as /root/ or upload it to your organization's internal repo. This will allow the installer to pick up installation options directly from the file and will not ask for input from the user.
A default lsws.options file will looks like this:
php_suexec="2"
port_offset="1000"
admin_user="admin"
admin_pass="a1234567"
admin_email="root@localhost"
auto_switch_php="1"
auto_switch_to_lsws="0"
admin_pass is a new option here. It is the password which will be used to access your LiteSpeed WebAdmin Console. Set it to something secure for your internal usage only.
You can create lsws.options and keep it on your local network for bulk provisioning, at a URL like yourlink.com/yourinternalrepo/lsws.options and then run the following command:
curl -o lsws.options yourlink.com/yourinternalrepo/lsws.options && bash <( curl https://get.litespeed.sh ) your_serial_no
Note
yourlink.com/yourinternalrepo/lsws.options is the link to your personalized lsws.options file which should be accessible to your servers.
lsws.options is the location of the lsws.options file. If you're running the installer from the same directory as your lsws.options file, Its fine to leave it exactly like that.
your_serial_no is the license key for LiteSpeed Web Server. You can also use TRIAL if you want to request a Trial License. If you see an error while using the Trial license, Refer to the FAQ.
Testing With a Port Offset
The beauty of the port offset is that you can run LSWS and Apache in parallel. This means you can test out hosting your sites on LSWS to make sure they work before actually turning off Apache. In this example, we have set the port offset to 1000. If we want to test any sites, we can do so on ports 1080 and 1443 for HTTP and SSL requests respectively.
Once you're confident that your sites are running correctly with LSWS, it's time to switch to LSWS as your main web server.
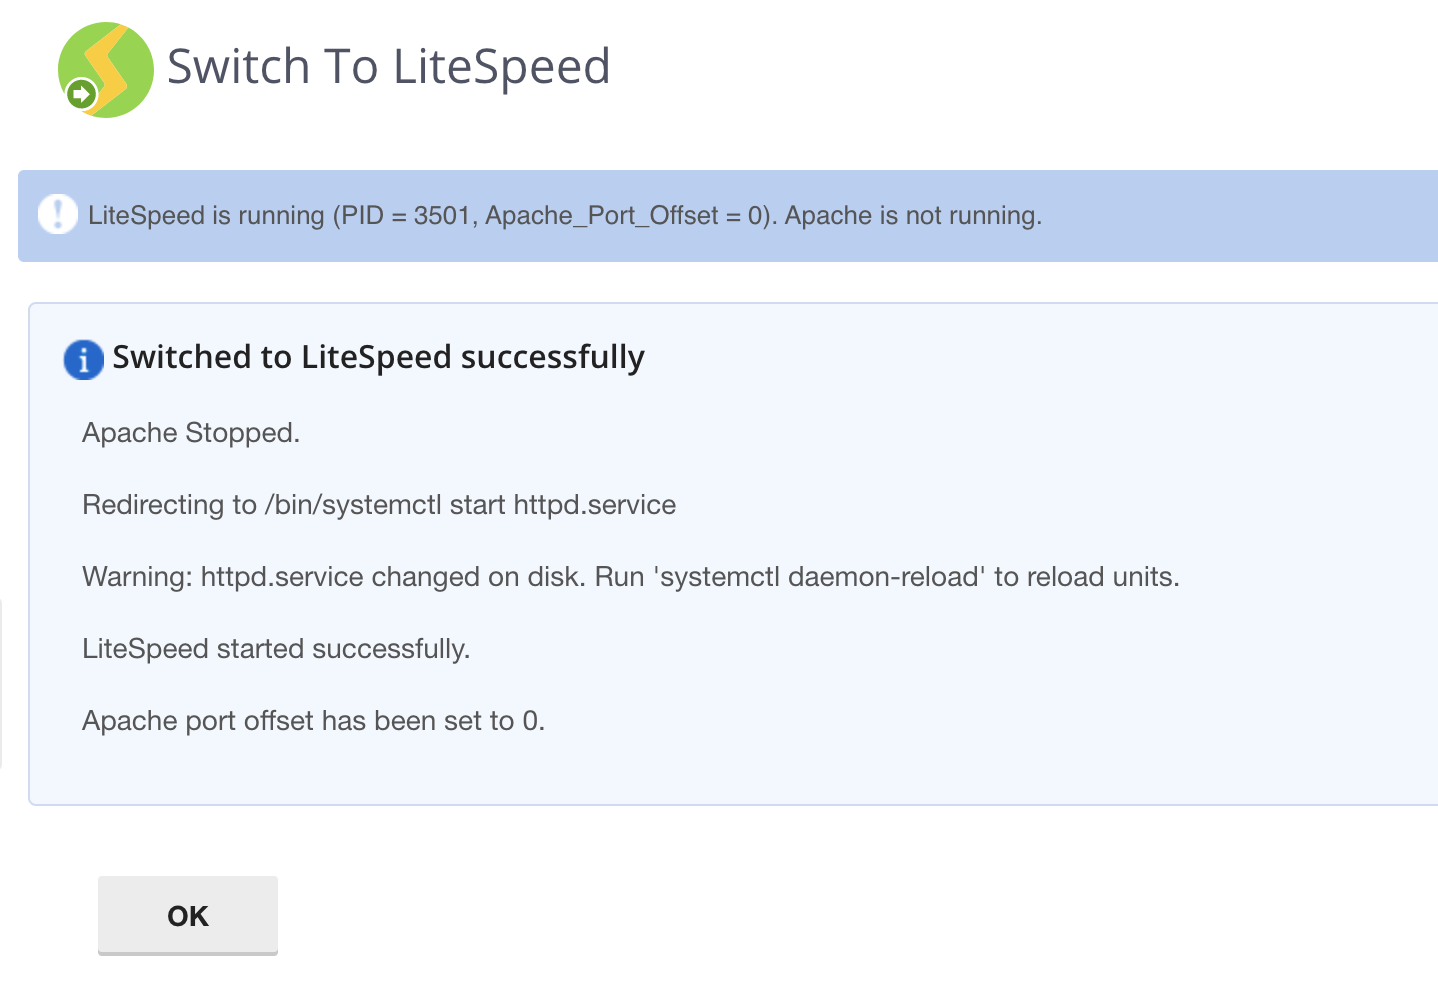
Switch to LiteSpeed
Click Switch to LiteSpeed. This will stop Apache and switch LSWS to your main server ports --- 80 and 443.
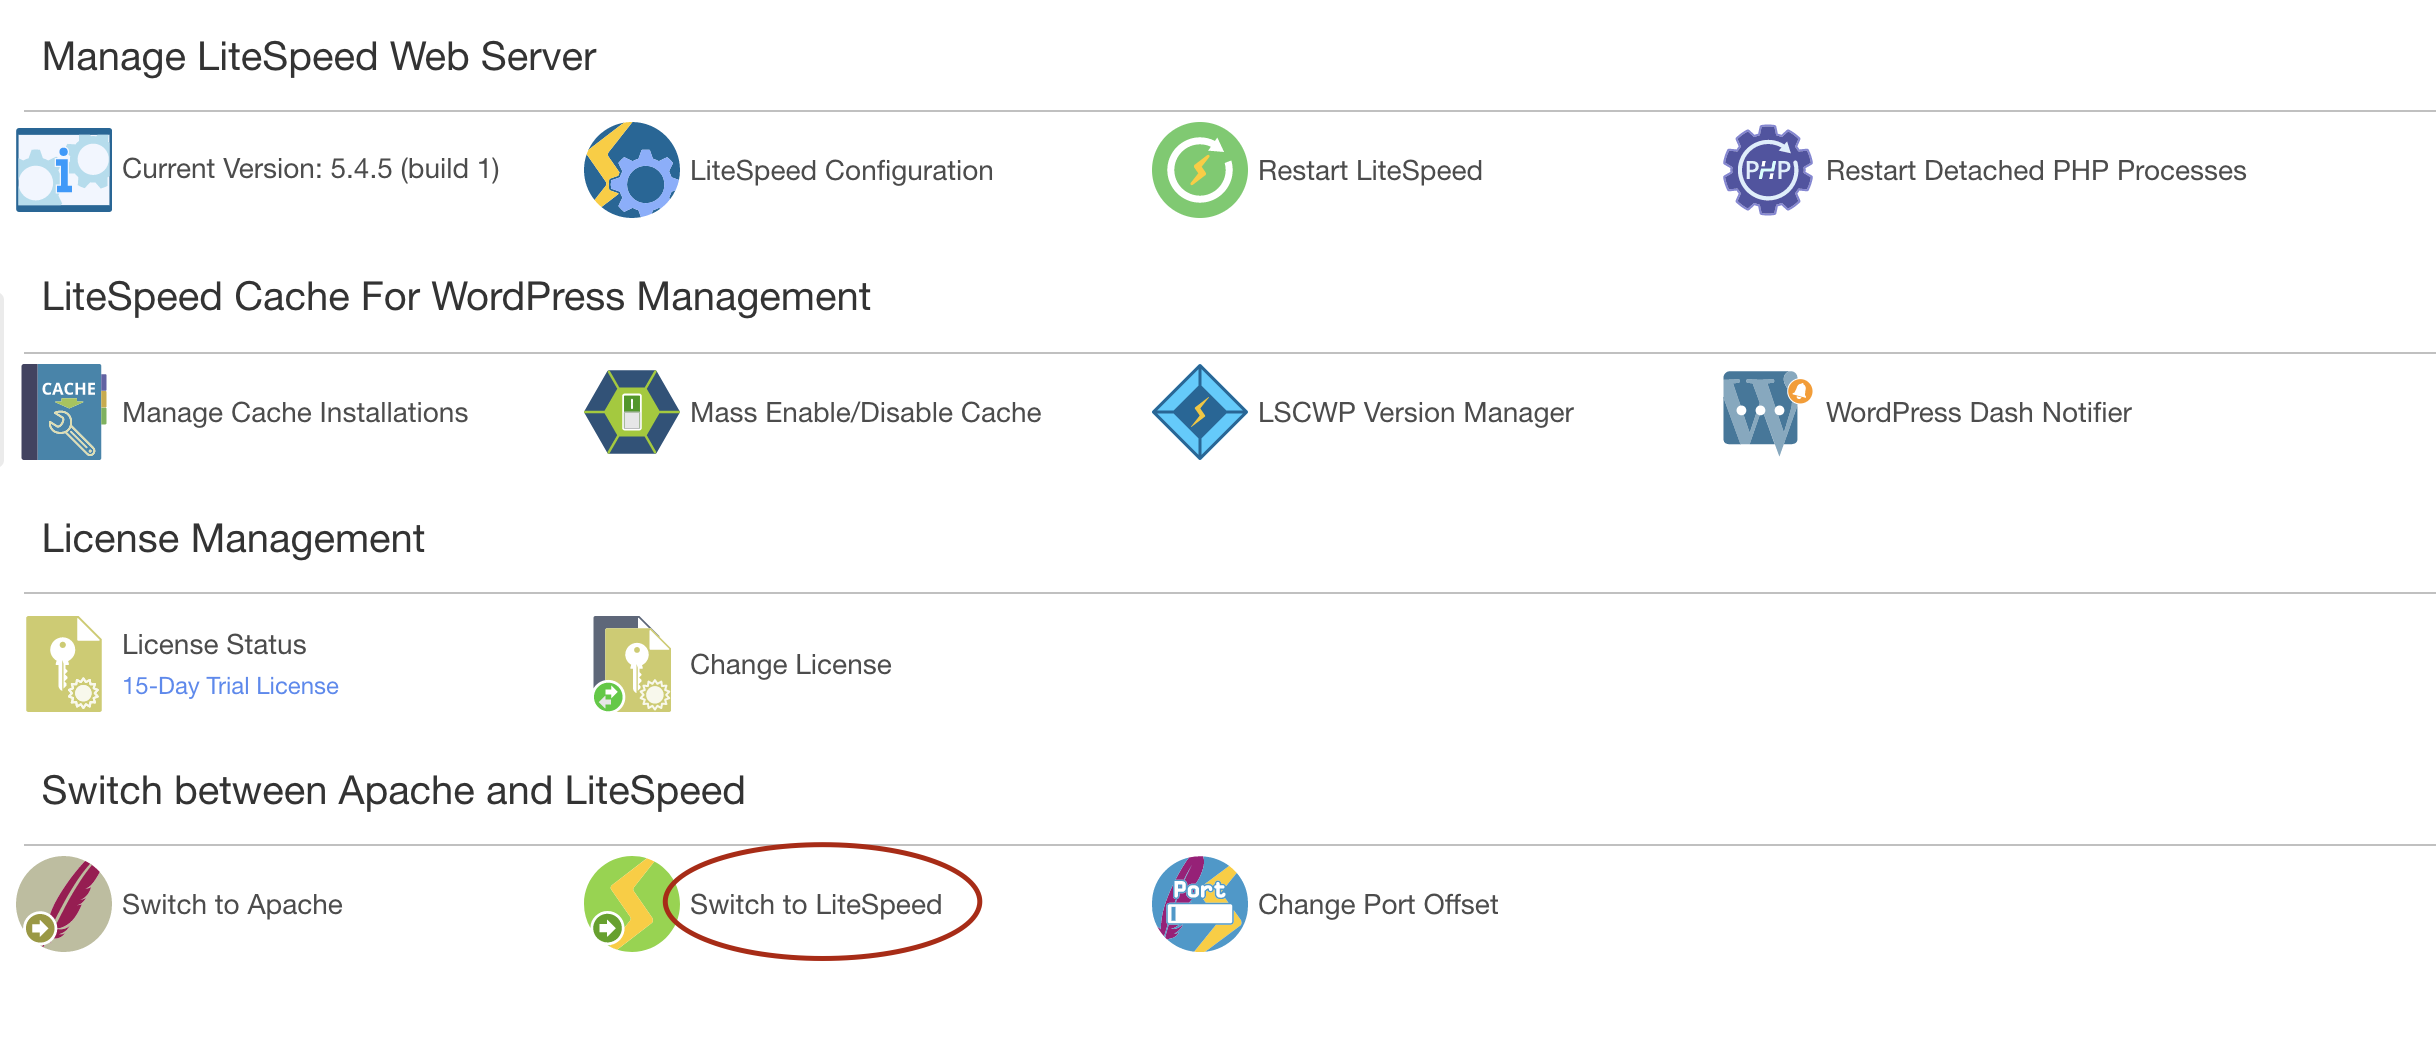
LiteSpeed is now running as your main web server. Congratulations!
Switching between LiteSpeed and Apache
Switching between LiteSpeed and Apache should be done through the LiteSpeed Extension.
You can also do so by running the switching script from the command line:
/usr/local/lsws/admin/misc/cp_switch_ws.sh apache
/usr/local/lsws/admin/misc/cp_switch_ws.sh lsws
Warning
It is not recommended to switch between servers with commands like service httpd stop and then service lsws start. The switching process involves several other important steps, and must be done using the LiteSpeed Extension or the SSH command above.