Installation
Before installing and activating the LSCache plugin, deactivate all other full-page cache plugins.
Tip
You can still use other types of cache (like object cache, or browser cache), but only one full-page cache should be used at a time.
Tip
To avoid a potential conflict with LiteSpeed Web Server, you may want to keep Joomla!'s gzip function Off. You'll find this setting in System > Global Configuration > Server > Gzip Page Compression.
Server Configuration
Note
Please see the Overview for the server-level requirements before attempting to install this extension.
Modify the .htaccess file in the Joomla! site directory, and add the following directives:
<IfModule LiteSpeed>
    CacheLookup on
</IfModule>
If your Joomla! site has a separate mobile view, please also add the following:
<IfModule LiteSpeed>
    RewriteEngine On
    RewriteCond %{HTTP_USER_AGENT} Mobile|Android|Silk/|Kindle|BlackBerry|Opera\ Mini|Opera\ Mobi [NC]
    RewriteRule .* - [E=Cache-Control:vary=ismobile]
    RewriteCond %{REQUEST_URI} enquiry [NC]
    RewriteRule .* - [E=Cache-Control:no-cache]
</IfModule>
Extension Installation
- Download the LSCache for Joomla! package from our site.
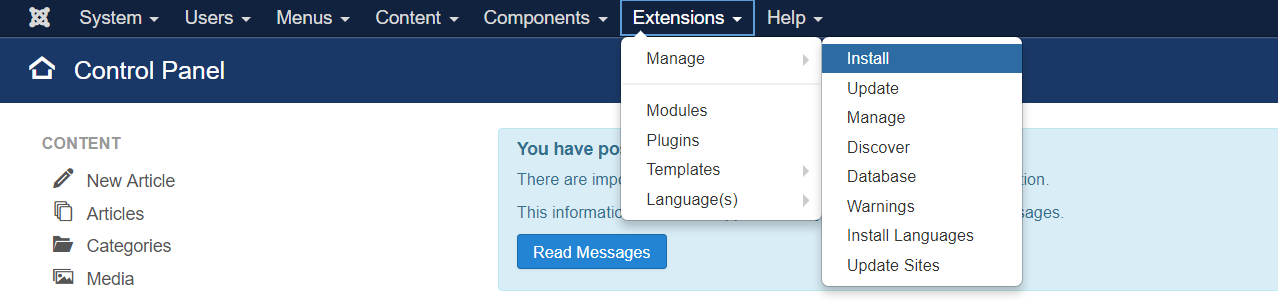
- From the Joomla! Administration menu, navigate to Extensions > Manage > Install.
- Select the Upload Package File tab, and drag the zip file into the window, or press the button to browse for the file.
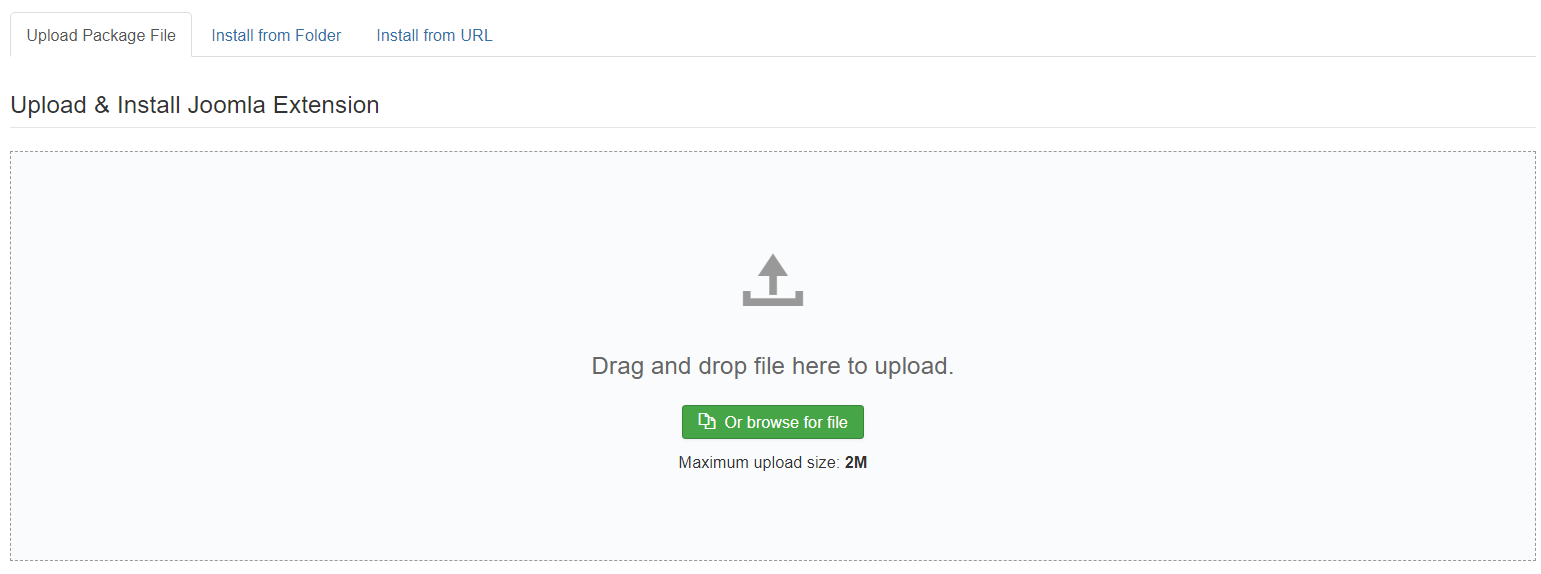
- The plugin will be automatically installed and enabled.
Verify the Plugin is Enabled
Navigate to Extensions > Plugins. If you have a lot of plugins listed, type LiteSpeed into the search box to bring up the LiteSpeed Cache Plugin. 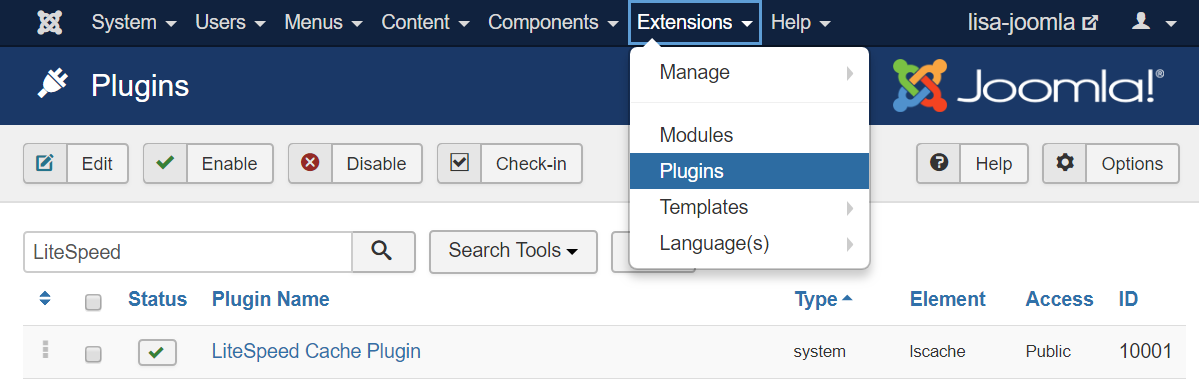
Look for the green check mark next to the plugin name. This indicates that the plugin is installed and enabled. If you see a red X instead, click the red X to enable the plugin. Once you’ve done that, the green check mark should appear, and you are good to go.
If you wish to disable the plugin in the future, you may click the green check mark to toggle it back to the red X.
Verify Your Site is Being Cached
Video
See a video demonstration of this topic here.
LSCache Check Tool
There's a simple way to see if a URL is cached by LiteSpeed: the LSCache Check Tool.
Enter the URL you wish to check, and the tool will respond with an easy-to-read Yes or No result, and a display of the URL's response headers, in case you want to examine the results more closely.
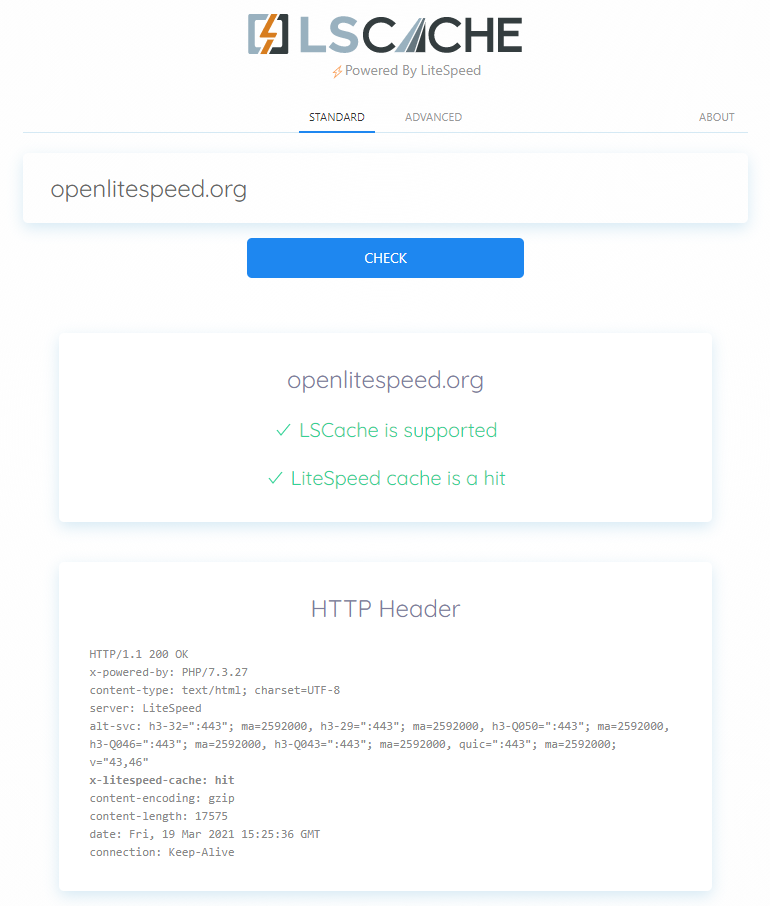
In addition to LSCache support, the tool can detect cache hits, and can detect when sites are using LiteSpeed Web ADC or QUIC.cloud CDN for caching.
Additionally, a Stale Cache Warning will alert you if browser cache is detected on dynamic pages. This is because browser cache may interfere with the delivery of fresh content.
Manual Lookup
You can verify a page is being served from LSCache through the following steps:
- From a non-logged-in browser, navigate to your site, and open the developer tools (usually, right-click > Inspect). Open the Network tab.
- Refresh the page.
- Click the first resource. This should be an HTML file. For example, if your page is
http://example.com/webapp/, your first resource should either be something likeexample.com/webapp/orwebapp/. -
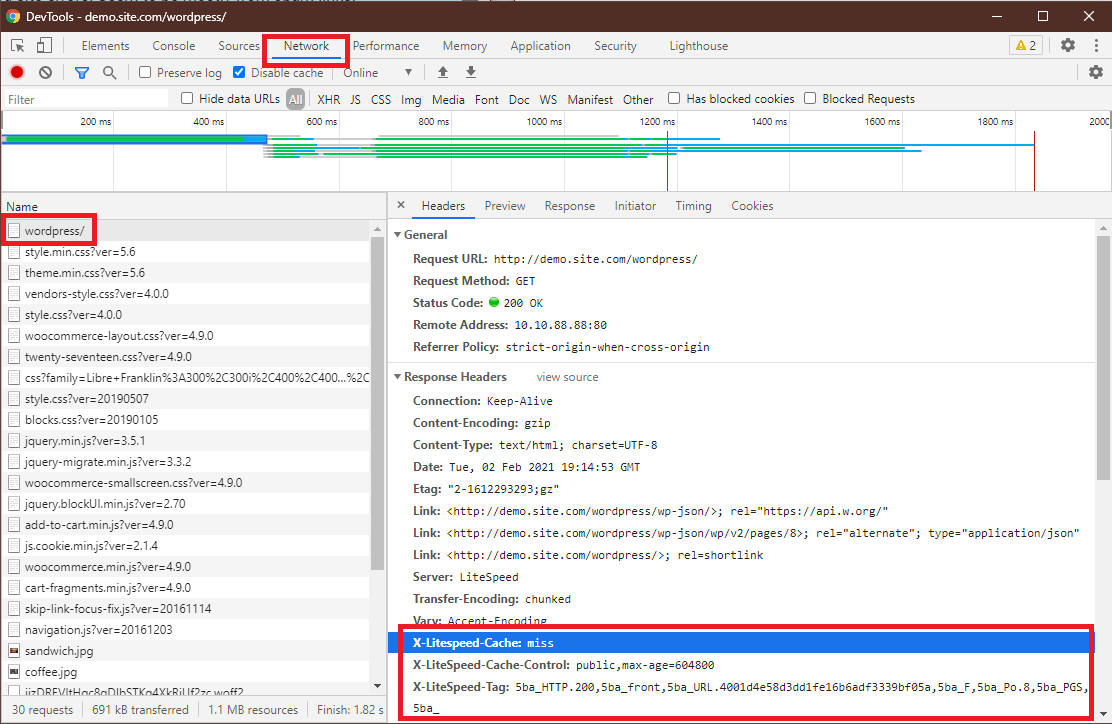
You should see headings similar to these:
These headings mean the page had not yet been cached, but that LiteSpeed has now stored it, and it will be served from cache with the next request.X-LiteSpeed-Cache: miss X-LiteSpeed-Cache-Control:public,max-age=1800 X-LiteSpeed-Tag:B1_F,B1_ -
Reload the page and you should see
X-LiteSpeed-Cache: hitin the response header. This means the page is being served by LSCache and is configured correctly.
Alternative Headers
The X-LiteSpeed-Cache header is most common, but you may see X-LSADC-Cache if your site is served by LiteSpeed Web ADC.
You may also see X-QC-Cache and X-QC-Pop if your site is served via QUIC.cloud CDN. The former indicates the cache status (hit or miss) and the latter indicates what PoP location (such as NA-US-LGA-33) served this response.
These alternative headers are also an indication that LSCache is working properly on your site.
Important
If you don't see X-LiteSpeed-Cache: hit or X-LiteSpeed-Cache: miss (or any of the alternative headers), then there is a problem with the LSCache configuration.
Non-Cacheable Pages
Sometimes there are pages which should not be cached. To verify that such pages have indeed been excluded from caching, check the developer tools as described above.
You should see headings similar to these:
X-LiteSpeed-Cache-Control:no-cache, esi=on
X-LiteSpeed-Tag:B1_F,B1_
X-LiteSpeed-Cache-Control, when set to no-cache, indicates that LiteSpeed Server has served your page dynamically, and that it was intentionally not served from cache.