General Section
Online Services Tab
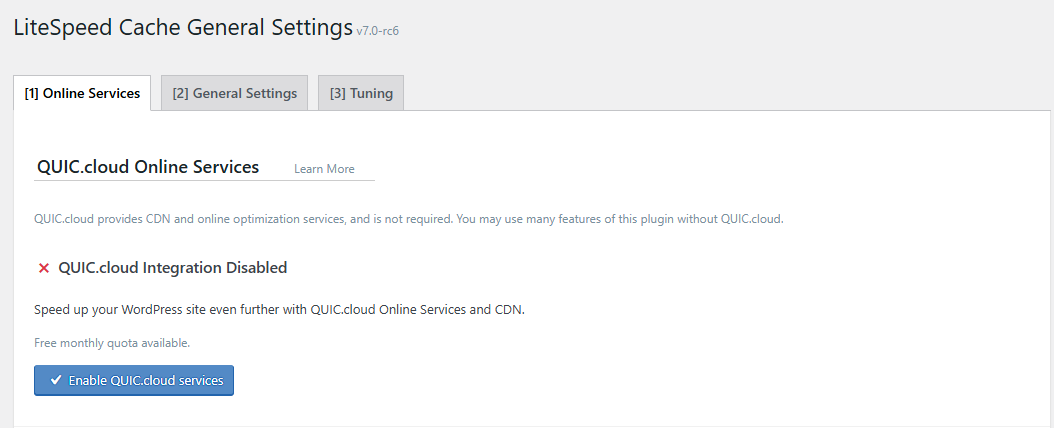
This tab explains how QUIC.cloud services can improve your site's performance. Press the Enable QUIC.cloud services button to get started.
Enabling QUIC.cloud is necessary if you want to use any of the following services:
- Content Delivery Network (CDN)
- Image Optimization
- Critical CSS Generation (CCSS)
- Unique CSS (UCSS)
- Low Quality Image Placeholder Generation (LQIP)
- Viewport Images (VPI)
Important
For online services to work correctly, you must allowlist all QUIC.cloud server IPs to ensure open communication. Before enabling QUIC.cloud services, please verify you have QUIC.cloud IPs allowlisted.
After pressing the Enable QUIC.cloud services button, the process should be straightforward. If you want detailed directions, please see the QUIC.cloud Onboarding Documentation.
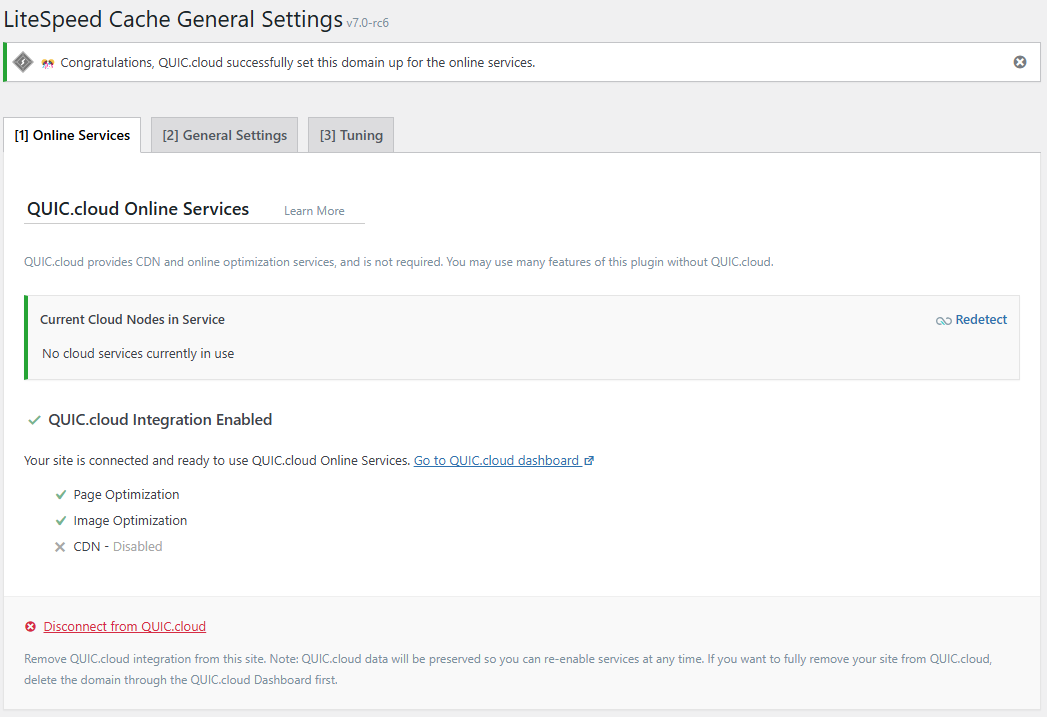
Once you have finished connecting your domain to QUIC.cloud, the Online Services tab will look something like this:
Tip
You may have noticed the small QUIC.cloud logo in this area. If you're having a problem with your QUIC.cloud services, try clicking the symbol to redetect your closest available service node(s). If your previously available node has gone down, a new node will be selected, and services can continue.
If you change your mind about using QUIC.cloud services, you can click the Disconnect from QUIC.cloud link. This will sever the connection between WordPress and QUIC.cloud, but it will not delete any data from your QUIC.cloud dashboard. If you want to remove the domain from QUIC.cloud, please see Deleting a Domain from Your Account.
General Settings Tab
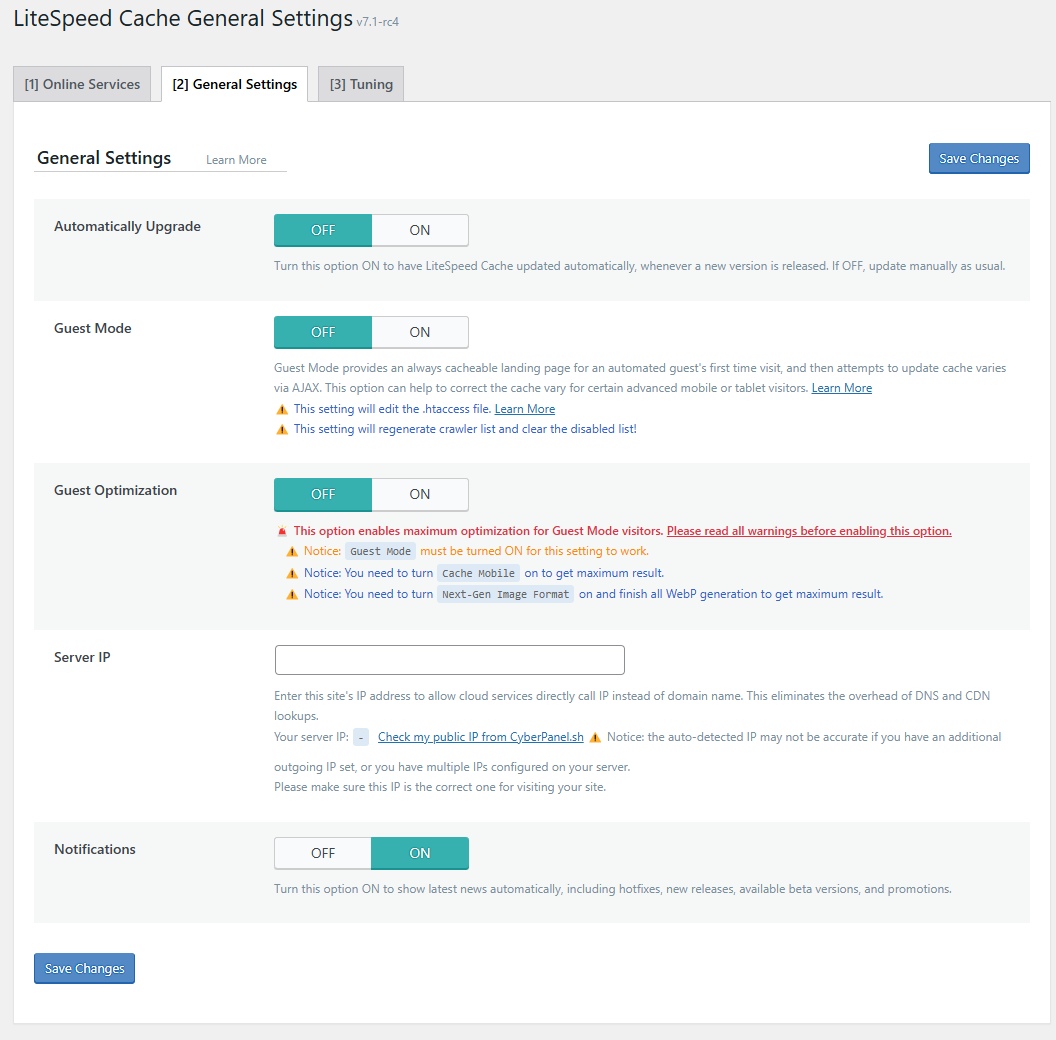
Automatically Upgrade
OFF
You can have this plugin upgrade automatically any time a new version is available. This saves you the effort of having to manually execute an update. If this option is enabled, your site will get LSCWP updates within a few hours of the new versions going live in the WordPress Plugin Directory. This delay is intentional, as it gives us time to make sure that there are no serious problems with the update.
Automatic Upgrade only works if you have WP-Cron enabled. (WP-Cron is enabled in WordPress by default, so if you don't know whether it's enabled on your site, it probably is.)
Info
This setting is moved to the Network Admin screen when used with a multisite network
Domain Key
This setting has been deprecated in LSCWP v7. To connect to QUIC.cloud, navigate to LiteSpeed Cache > General > Online Services and press the Enable QUIC.cloud Services button. Learn more.
Guest Mode
OFF
When Guest Mode is enabled, LSCache serves a default version of the page from cache for a visitor's first request. This means, for this first visit only, ESI is not enabled, and no cache varies are considered.
Once the HTML of the page is loaded, then an Ajax call is used to load the "correct" version of the page for that visitor (i.e., the one where ESI and cache varies are considered, and whatever optimizations you normally run on your site are used).
The benefit is a lightning fast response time from the server.
Warning
Enabling this option will create additional cache varies. If you have crawling enabled, cache varies cause multiple crawlers to be created. Please be sure you have adequate server resources for multiple crawlers before enabling this option. Learn more about multiple crawlers on our blog.
Warning
There is a short delay between the default cached page being served and the correct content loading via Ajax. On some complicated sites, this can mean that the wrong language, incorrect pricing, or other problematic content may be momentarily displayed. You need to decide if this is an acceptable trade-off for your particular site.
Tip
If you are using CloudFlare, do not enable Automatic Platform Optimization (APO). Remember, when using LSCWP with other optimization solutions, you must not duplicate functions. APO is a page cache, so it must be turned off in order for this LiteSpeed Cache feature to work correctly.
Info
This setting can be found on the Network Admin tab when used with a multisite network.
When Guest Mode is enabled, and the changes are saved, you should see two new test results appear beneath the setting:
Guest Mode testing result: Guest Mode passed testing.
Guest Mode IP/UA sync status: Synced successfully.
Guest Optimization
ON
Tip
This option defaults to ON, but it requires Guest Mode to be enabled. If Guest Mode is OFF, then the Guest Optimization setting will be ignored.
You can take Guest Mode even further by using Guest Optimization. When this setting is enabled, not only is the default version of the page served from cache, but also the maximum level of page optimization and image optimization is enacted on this default page even if those features are disabled otherwise.
If you have enabled Guest Optimization, you may see this message next to your disabled optimization features:
This setting is ON for certain qualifying requests due to Guest Optimization.
This message indicates that the optimization feature is usually OFF, but it is ON for requests that fit the criteria. Generally, this means the feature is enabled for bots, for certain user agents, and for a user's first visit to your site.
This setting can greatly improve page speed score, as it will always serve a cached, highly optimized page when services like GTmetrix and PageSpeed Insights request it.
Before you enable Guest Optimization, it's important to understand the impacts of "the maximum level of optimization." These are described in the warnings below.
If you are already using the following features, independent of Guest Optimization, then there will be no additional impact on your resources:
- Critical CSS Generation
- Unique CSS Generation
- Viewport Images Generation
- Separate Cache for Mobile View
If you are not already using these features, these warnings should help you determine how Guest Optimization will impact your available resources, if at all:
QUIC.cloud Quota Usage Warning
"Maximum level of page optimization" includes Critical CSS, Unique CSS, and Viewport Images, all of which are QUIC.cloud services. If you have already enabled QUIC.cloud services, then Guest Optimization will generate CCSS, UCSS, and VPI regardless of whether you have the settings enabled for your site. Additionally, your QUIC.cloud quota will be deducted accordingly for the use of these services.
If you have not enabled QUIC.cloud services, then Guest Optimization will continue without CCSS or UCSS. (This is functional, but not exactly "maximum.")
Disk Space Usage Warning
If your hosting provider puts limits on disk space or on the number of files you can have, the Unique CSS generation initiated by Guest Optimization may be problematic. UCSS ensures that every stylistic variation of every page on your site gets its own CSS file. For a large site, that could mean thousands of extra files and heavy disk usage.
Server Resource Usage Warning
Guest Optimization enables Separate Cache for Mobile View for all visitors to your site, not just Guest Mode visitors. If your site makes use of crawling, this setting can cause the number of crawlers to grow exponentially, which may consume server resources you don't have to spare.
User Experience Warning
This feature leads to excellent page speed scores, but it may not be as nice for the human users of your site. To test Guest Optimization's impact on user experience, use incognito mode to view your site as a first-time visitor.
Additionally, Guest Optimization can "mask" any real problems your site may have. If you wish to get an accurate and true evaluation from page speed test sites, turn this feature off. Use the page speed test site's suggestions to fix any problems your site may have, and then re-enable Guest Optimization.
Info
This setting can be found on the Network Admin tab when used with a multisite network.
Server IP
Empty string
This field is used in a few places, including the Crawler and QUIC.cloud optimizations, to improve your service. By providing your Site’s IP address, we can eliminate the overhead involved in DNS and Content Delivery Network (CDN) lookups for these functions. To understand why, let’s look at a few scenarios involving the crawler.
This is how it works if you’re using a CDN:
- The crawler gets
http://example.com/pathfrom the sitemap - The crawler checks with the DNS to find
example.com’s IP address - The DNS returns the CDNs IP address to the crawler
- The crawler goes to the CDN to ask for the page
- The CDN grabs the page from
example.com - The CDN returns the page to the crawler
This is how it works if you’re not using a CDN:
- The crawler gets
http://example.com/pathfrom the sitemap - The crawler checks with the DNS to find
example.com’s IP address - The crawler grabs the page from
example.com
In both scenarios, there are lookups that occur, expending time and resources. These lookups can be eliminated by entering your site’s IP in this field.
When the crawler knows your IP, this is how it works:
- The crawler gets
http://example.com/pathfrom the sitemap - The crawler grabs the page directly from
example.combecause it already knows the IP address
Every go-between is eliminated, along with all of the the resulting overhead.
Notifications
ON
Turn this option ON to see optional plugin announcements and notifications. This includes hotfixes, new releases, available beta versions, and promotions.
Note
This setting does not impact status messages which provide information regarding plugin functions.
Use Primary Site Configuration
OFF
Turn this option ON to use the primary site's configuration for all subsites. This will disable the ability to make changes to most of the settings pages on all subsites.
Info
This setting is only shown on the Network Admin screen when used with a multisite network
Tuning Tab
This tab has been deprecated as of LSCWP v7.7.
We've replaced the Guest Mode User Agents and Guest Mode IPs settings with two text files, which are automatically updated daily.
Do not update these files, as their contents will be overwritten with the next daily update. If you have an IP address or User Agent that you want to add to the list, please contact our support team, and we'll be happy to help.