Installation and Configuration
Video walkthrough
Watch Set Up LiteSpeed Web Server on DirectAdmin on YouTube.
Before you begin
- Obtain a LiteSpeed Web Server license from the LiteSpeed Store.
- Confirm that you have root SSH access on the server.
- Remove any existing Apache replacements or reverse-proxy layers, such as nginx or Varnish, before you install LiteSpeed Web Server.
- Verify that your DirectAdmin server is healthy on Apache before migration.
- Confirm that your firewall allows the required ports:
TCP 80,TCP 443,UDP 443, andTCP 7080.
If you need help choosing a plan, see Choosing a License.
Choose an installation method
- Use Detailed installation for your first deployment or when you want to review every prompt.
- Use Quick automated installation for unattended or bulk provisioning.
Detailed installation
This method is recommended for first-time installations.
Run the installer script
- Connect to your server over SSH as root.
- Run the installer command, replacing
your_serial_nowith your license key:
bash <(curl -fsSL https://get.litespeed.sh) your_serial_no
Tip
To request a trial license, replace your_serial_no with TRIAL:
bash <(curl -fsSL https://get.litespeed.sh) TRIAL
Respond to installer prompts
The script uses DirectAdmin CustomBuild and prompts for DirectAdmin-specific options.
When you run in guided mode, you may see this prompt:
Could not find an lsws.options file. We will ask you for your preferred settings instead, but for automated bulk provisioning, you may want to exit and create an lsws.options file. Continue Installer (Y/N)?
For a guided installation, enter Y, and press Enter.
The installer then prompts for PHP versions:
| Prompt | Purpose | Typical input |
|---|---|---|
php_version_default | Sets the primary PHP version. | A supported version shown by the installer |
php_version_second | Adds a second PHP version (optional). | A supported version, or no |
php_version_third | Adds a third PHP version (optional). | A supported version, or no |
php_version_fourth | Adds a fourth PHP version (optional). | A supported version, or no |
Confirm successful installation
After the script finishes, it displays a success message and a generated LiteSpeed WebAdmin Console password.
Install finished! Your randomly generated admin password for the LiteSpeed WebAdmin interface on port 7080 is <generated_password>
Store this password in a secure location. You can change it later.
If you encounter installation errors, open a support ticket.
Quick automated installation
Use this method for unattended provisioning across multiple servers.
Create an lsws.options file
Place an lsws.options file in your installer working directory, or host it internally for download:
php_version_default="8.3"
php_version_second="8.4"
php_version_third="no"
php_version_fourth="no"
If you are unsure about option values, run Detailed installation once first.
Run unattended installation
- Download your prepared options file (example URL shown):
curl -fsSL -o lsws.options https://repo.example.com/lsws.options
- Run the installer:
bash <(curl -fsSL https://get.litespeed.sh) your_serial_no
- Optional: request a trial license by using
TRIALinstead ofyour_serial_no.
Verify LiteSpeed Web Server is running
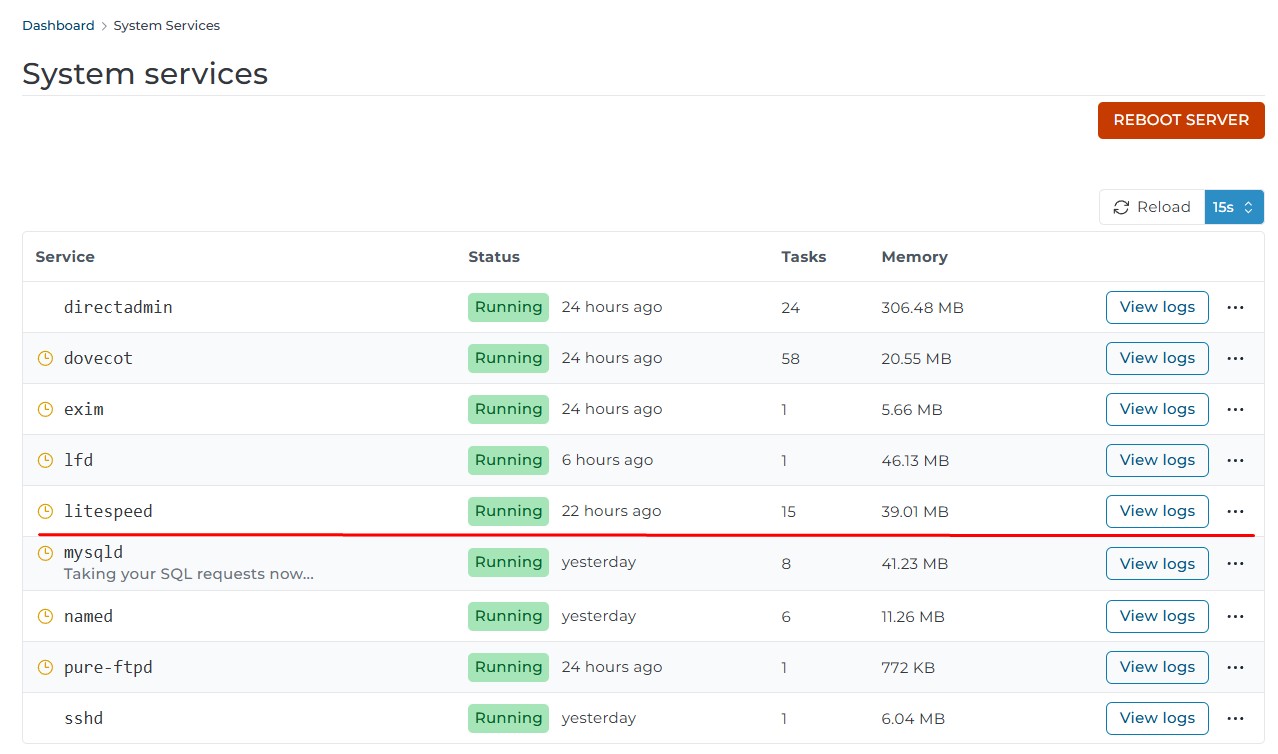
In DirectAdmin, navigate to Admin Level > Service Monitor and confirm that litespeed is running.